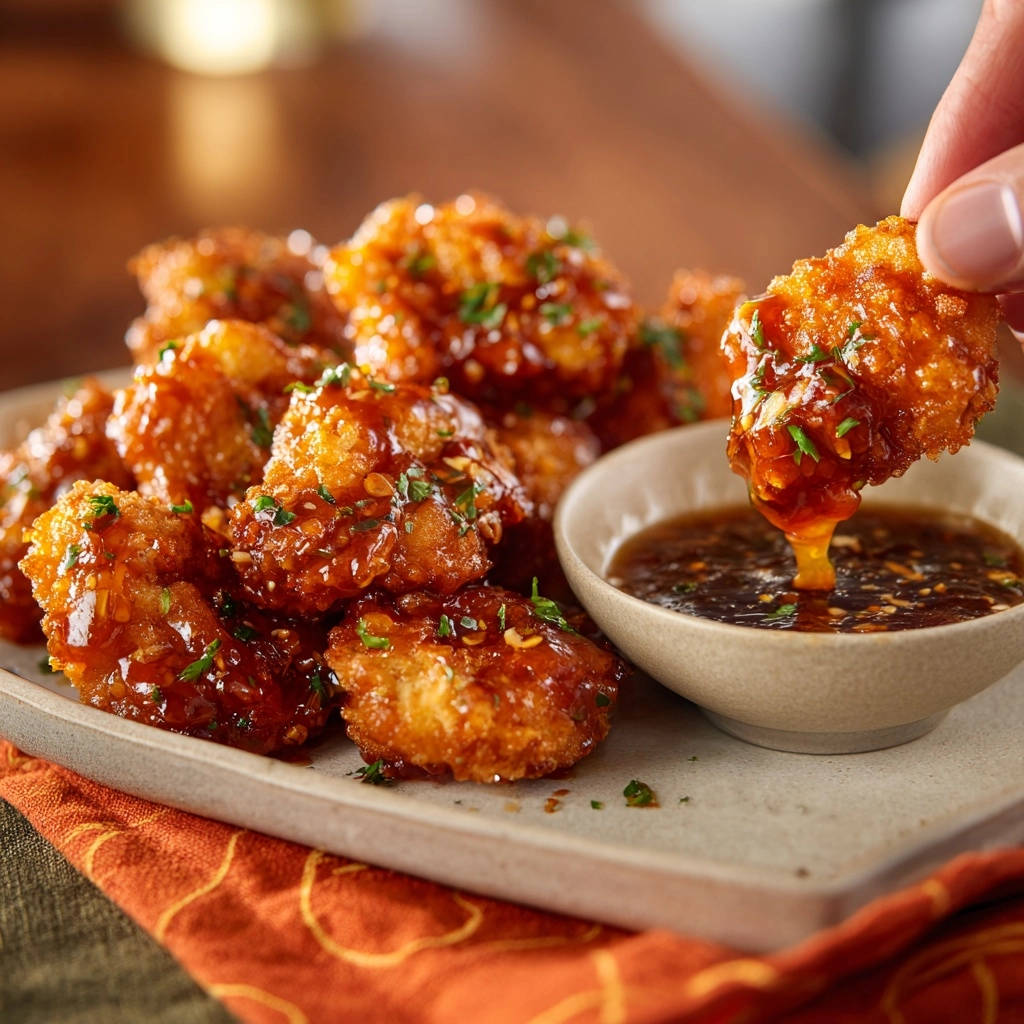
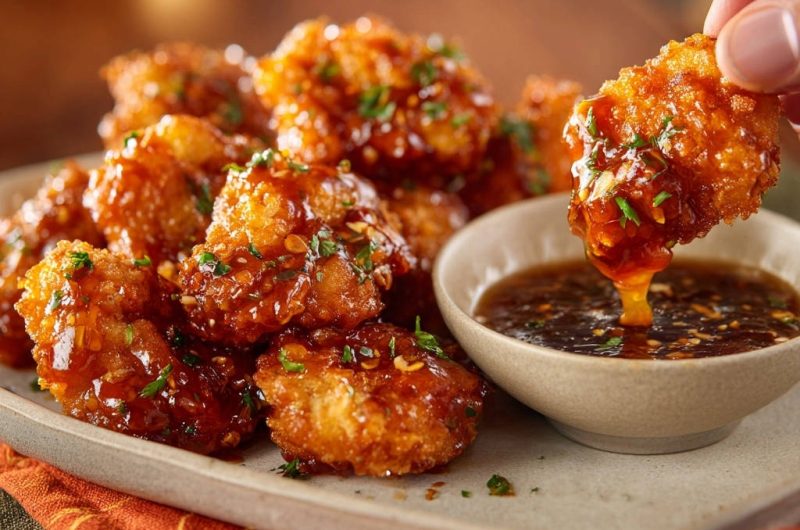
Crispy Glazed Chicken Bites: Sauce-Proof Crunch!
There’s nothing quite as disappointing as a plate of sauced chicken that loses its crispness the moment it hits the table, right? As a food enthusiast, I’ve spent countless hours perfecting the art of truly ‘sauce-proof’ chicken, and I’m thrilled to share my ultimate recipe for Crispy Glazed Chicken Bites.
For a different take on comforting chicken, explore the secrets behind a perfect creamy chicken mushroom crumble.
This recipe isn’t just about delicious flavor; it’s a meticulously crafted method that guarantees those golden, fried bites stay delightfully crisp, even when drenched in a luscious, sticky glaze. Get ready to experience a texture sensation that will redefine your expectations for glazed chicken.
Get Our Best Recipes Weekly!
Join thousands of food lovers and get delicious recipes delivered to your inbox.
Why This Crispy Glazed Chicken Bites Recipe Wins Every Time
The Secret to Lasting Crispness (Even Coated in Sauce!)
The core genius of these Crispy Glazed Chicken Bites lies in a two-part strategy: a unique triple-layer breading and precise sauce application. This method creates an armor-like coating that locks in moisture and keeps the chicken crunchy.
Unlike many recipes where the sauce quickly saturates and softens the crust, our technique ensures the exterior remains firm and satisfying. You get that delightful ‘snap’ with every single bite, a true testament to its lasting crispness.
Speedy & Satisfying: Perfect for Weeknights or Parties
Despite its gourmet feel, this recipe is surprisingly approachable and efficient. You can have these golden fried bites on the table faster than you might expect, making them an excellent choice for a busy weeknight meal.
Furthermore, their irresistible appeal and easy-to-eat format make them an absolute crowd-pleaser for gatherings and parties. Prepare for rave reviews from everyone who tries these delectable chicken appetizers.
A Flavor Profile That Pleases Everyone
The homemade glaze for these Crispy Glazed Chicken Bites strikes a beautiful balance of sweet, savory, and tangy. Hints of ginger and garlic add aromatic depth, while the optional red pepper flakes offer a gentle warmth.
This harmonious blend ensures the flavor is complex enough to be exciting yet universally appealing. It’s a taste profile that truly satisfies a wide range of palates, making it a go-to dish for any occasion.
Gather Your Flavor Arsenal: What You’ll Need
For the Irresistibly Tender Chicken Base
Start with 1.5 pounds of boneless, skinless chicken thighs or breast, cut into uniform 1-inch pieces. Thighs offer more juiciness, while breast meat is leaner.
Thoroughly patting the chicken dry with paper towels is a non-negotiable step. This ensures the seasonings adhere perfectly and is crucial for achieving an ultra-crispy crust later.
A simple blend of salt, black pepper, and garlic powder creates a foundational flavor layer. These initial seasonings penetrate the chicken, enhancing its natural taste.
Crafting the Sticky, Savory-Sweet Glaze
The glaze combines low-sodium soy sauce for umami, water to thin, and honey for a rich, natural sweetness. Rice vinegar adds a bright, tangy counterpoint, balancing the flavors.
Freshly grated ginger and minced garlic infuse the sauce with aromatic warmth and depth. Red pepper flakes, if desired, introduce a customizable kick.
A cornstarch slurry, made with 1 tablespoon of cornstarch mixed with 2 tablespoons of cold water, is the magic behind the sauce’s glossy, syrupy texture. Sesame oil, added at the very end, imparts a distinctive nutty aroma and flavor.
Finishing Touches: Garnishes for Extra Pizzazz
Fresh chopped parsley or cilantro provides a vibrant visual contrast and a fresh, herbaceous note. Sesame seeds add a delicate crunch and a classic Asian-inspired finish.
A sprinkle of extra red pepper flakes not only adds visual flair but also allows individuals to customize the spice level of their individual servings.
Essential Kitchen Companions for Perfect Crispy Glazed Chicken Bites
-
Heavy-Bottomed Pot or Dutch Oven: This ensures even heat distribution and stability, crucial for consistent oil temperature during frying.
-
Wire Rack & Baking Sheet: Essential for draining excess oil from fried chicken and for allowing the breading to set before frying, preventing sogginess.
-
Shallow Dishes: Three separate dishes are needed for the breading station – one for flour-cornstarch, one for eggs, and one for pure cornstarch.
-
Whisk & Small Saucepan: For effortlessly combining and thickening your luscious glaze to the perfect consistency.
-
Kitchen Thermometer: Absolutely critical for monitoring and maintaining the precise oil temperature of 350°F (175°C), which is the secret to ultimate crispness.
Your Step-by-Step Journey to Crispy Glazed Chicken Bites Perfection
Phase 1: Prepping the Chicken for Maximum Flavor
Begin by thoroughly patting your chicken pieces dry with paper towels. This step is paramount; excess moisture prevents the breading from adhering properly and results in less crispy chicken.
In a medium bowl, toss the dried chicken with salt, black pepper, and garlic powder. Ensure each piece is evenly coated, laying the foundation for delicious flavor.
Phase 2: The Triple-Layer Breading for Unbeatable Crunch
Set up your breading station with three shallow dishes. In the first, combine all-purpose flour and 1/4 cup of cornstarch. In the second, place your lightly beaten eggs. In the third, put the remaining 1/4 cup of pure cornstarch.
Dredge each chicken piece first in the flour-cornstarch mixture, shaking off any excess. Next, dip it into the beaten eggs, letting excess drip away. Finally, roll it generously in the pure cornstarch, pressing gently to create an even, thick layer.
This triple coating is the “crispy secret” for these Crispy Glazed Chicken Bites. The cornstarch forms a remarkably sturdy, crisp crust that stands up to the glaze.
Place the breaded chicken on a wire rack while you finish coating all pieces. This allows the coating to slightly dry and adhere, preventing it from clumping in the oil.
Phase 3: Simmering Your Luscious, Sticky Glaze
In a small saucepan, combine low-sodium soy sauce, water, honey, rice vinegar, grated fresh ginger, minced garlic, and red pepper flakes if you’re using them for a touch of heat.
In a separate small bowl, whisk together 1 tablespoon of cornstarch with 2 tablespoons of cold water to form a smooth slurry. This ensures a lump-free, perfectly thickened sauce.
Bring the sauce mixture to a gentle simmer over medium heat. Stir in the cornstarch slurry and whisk constantly for 1-2 minutes until the sauce visibly thickens to a glossy, syrupy consistency.
Remove the sauce from the heat, stir in the sesame oil for a nutty finish, and keep it warm over very low heat or in a double boiler. This prevents it from getting too thick or cooling before glazing the hot chicken.
Phase 4: Achieving Golden-Brown, Crispy Fried Chicken
Heat 2-3 inches of vegetable oil in a large, heavy-bottomed pot or Dutch oven over medium-high heat. Use a kitchen thermometer to ensure the oil reaches precisely 350°F (175°C).
Carefully place a few breaded chicken pieces into the hot oil, ensuring you do not overcrowd the pot. Frying in small batches is critical for maintaining oil temperature and achieving consistent crispness.
Fry for 5-7 minutes, or until each piece is beautifully golden brown, thoroughly cooked through, and incredibly crispy. The internal temperature should reach 165°F (74°C).
Remove the fried chicken with a slotted spoon to a clean wire rack set over a baking sheet. This allows excess oil to drain away, keeping the chicken as crisp as possible as you finish frying the remaining batches.
Phase 5: The Strategic Glazing Technique (Lock in that Crisp!)
Once all chicken is fried and immediately after removing the last batch from the oil, transfer all the hot, freshly fried chicken pieces to a large bowl.
Pour the warm, thickened sauce directly over the hot chicken. Toss quickly and gently to coat all the pieces evenly. The residual heat from the chicken helps the sauce adhere without making the crust soggy.
This rapid coating in a warm, reduced sauce is another “crispy secret” for these Crispy Glazed Chicken Bites. It minimizes moisture exposure and locks in that hard-earned crunch.
Phase 6: Garnish, Serve, and Savor
Transfer the beautifully glazed chicken bites to a serving platter. Garnish generously with fresh chopped parsley or cilantro and a sprinkle of sesame seeds, if desired.
For those who love extra heat, a final dash of red pepper flakes adds a spicy flourish. Serve these delightful bites immediately to experience them at their peak crispness.
Chef’s Wisdom: Pro Tips for Your Best Crispy Glazed Chicken Bites
Mastering the Breading: No More Soggy Bites!
When coating the chicken in the final cornstarch layer, press firmly to ensure a thick, even crust. This is your primary defense against a soggy texture.
After breading, let the chicken rest on a wire rack for 10-15 minutes. This allows the coating to adhere more firmly, reducing the chance of it falling off during frying.
Oil Temperature: The Key to Golden Perfection
Always use a reliable kitchen thermometer to monitor your oil temperature. Maintaining a consistent 350°F (175°C) is crucial for even cooking and optimal crispness.
If the oil is too cold, the chicken will absorb too much grease and turn soggy. If it’s too hot, the exterior will burn before the interior cooks through.
Batch Frying for Consistent Crispness
Never overcrowd the pot with chicken. This dramatically lowers the oil temperature, leading to unevenly cooked, greasy, and less crispy results.
Fry in small batches, allowing the oil to return to temperature between additions. Patience here ensures consistently perfect Crispy Glazed Chicken Bites.
Optimizing Your Sauce: Consistency is Everything
If your sauce appears too thin after simmering with the slurry, allow it to gently simmer for another minute or two, stirring constantly, until it reaches your desired syrupy consistency.
If the sauce becomes too thick while keeping warm, whisk in a tablespoon of hot water or low-sodium chicken broth at a time until it’s pourable and coats a spoon well.
Pat Your Chicken Dry – Seriously!
This is arguably the most overlooked yet critical step. Moisture on the chicken prevents the breading from sticking properly and creates steam during frying, which directly hinders crispness.
Spend the extra minute to thoroughly pat every piece of chicken dry with paper towels. It makes a monumental difference in the final texture of your golden fried bites.
Creative Pairings: What to Serve with Crispy Glazed Chicken Bites
Classic Asian-Inspired Sides
Pair these delectable bites with a steaming bowl of jasmine or brown rice to soak up every last drop of the luscious glaze. The simple, neutral flavor of rice complements the rich chicken beautifully.
For a quick and satisfying meal, try our easy chicken stir-fry next.
Stir-fried vegetables, such as broccoli, snap peas, or bell peppers, offer a refreshing crunch and vibrant color. Light egg noodles or lo mein also make a satisfying companion.
Fresh & Light Accompaniments
A crisp cucumber salad, dressed simply with rice vinegar and sesame oil, provides a cool contrast to the warm, glazed chicken. Its refreshing quality cuts through the richness.
Consider a simple green salad with a light vinaigrette or a quick pickled carrot and daikon slaw. These options add brightness and a tangy counterpoint.
Appetizer Perfect Options
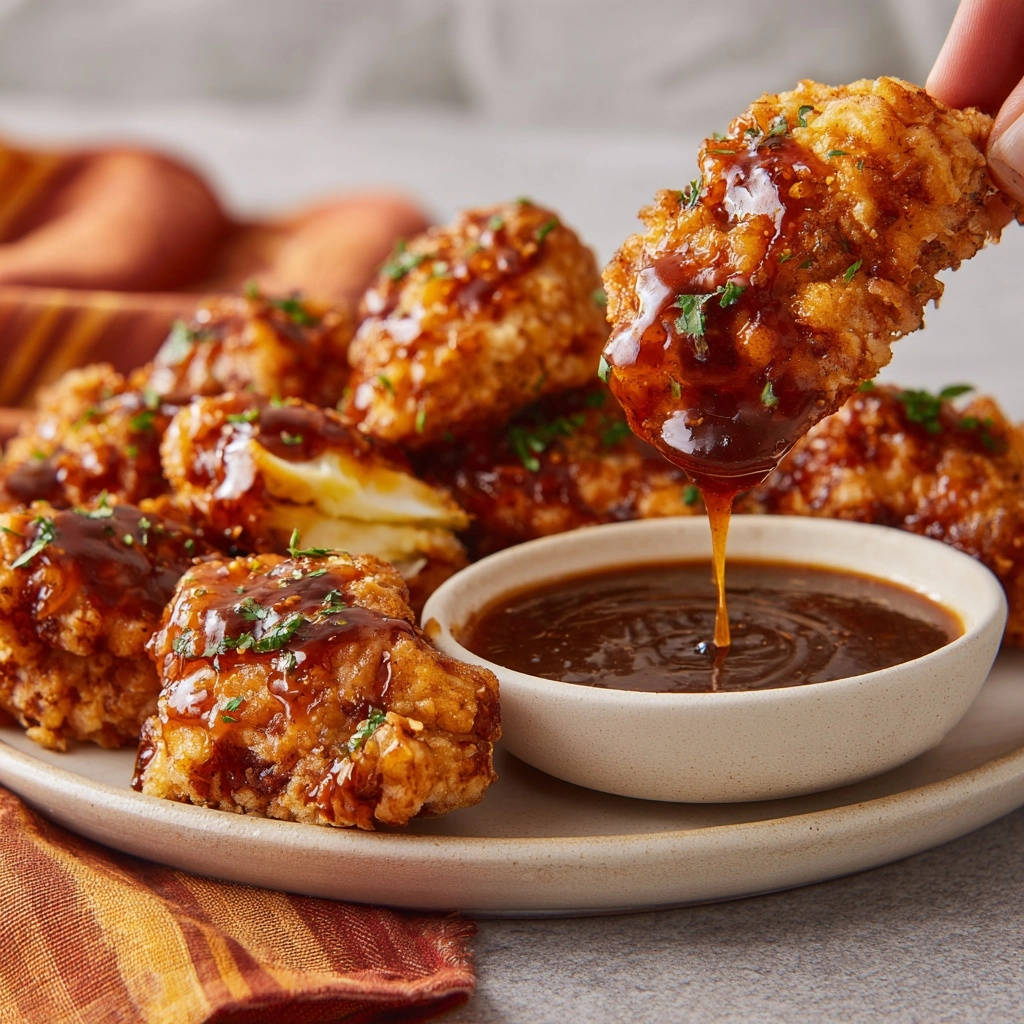
For parties, these Crispy Glazed Chicken Bites are fantastic served as finger food. Arrange them artfully on a platter, perhaps with toothpicks for easy grabbing.
Offer a small bowl of extra warm glaze on the side for dipping, allowing guests to customize their sauciness. They are a guaranteed hit as party appetizers.
Enjoying Later: Storage and Make-Ahead Tips
Storing Leftovers Safely
To store any leftover Crispy Glazed Chicken Bites, allow them to cool completely before transferring them to an airtight container. Refrigerate promptly within two hours of cooking.
Properly stored, they will remain fresh for up to 3-4 days. While the crispness might diminish slightly, the flavor will still be wonderful.
Reheating for Retained Crispness
Avoid the microwave for reheating, as it will inevitably make the chicken soggy. For best results, reheat in an oven or air fryer.
Preheat your oven to 375°F (190°C) or air fryer to 350°F (175°C). Spread the chicken in a single layer and heat for 8-12 minutes, or until warmed through and the crust has regained some of its crispness.
Can You Prep Components in Advance?
Yes! The glaze can be made up to 2-3 days in advance and stored in an airtight container in the refrigerator. Reheat gently on the stovetop, whisking occasionally, before using.
You can also cut the chicken into pieces ahead of time. Store it tightly covered in the refrigerator for up to 24 hours, ensuring it’s thoroughly patted dry just before breading and frying.
Help! My Crispy Glazed Chicken Bites Aren’t Perfect (Yet!)
Why isn’t my chicken crispy?
This is often due to the oil temperature being too low, which causes the chicken to absorb oil instead of crisping. Ensure your oil stays at 350°F (175°C) using a thermometer.
Overcrowding the pot significantly drops the oil temperature. Fry in small batches to maintain consistent heat. Also, ensure your chicken was thoroughly patted dry before breading and that the breading layer was substantial.
My sauce is too thin/thick. What happened?
If your sauce is too thin, it likely needs more simmering time or a touch more cornstarch slurry. Simmer gently, stirring constantly, to activate the cornstarch and thicken the sauce.
If the sauce becomes too thick, especially after sitting, whisk in a tablespoon of cold water or low-sodium chicken broth at a time until it reaches your desired coating consistency.
Chicken cooked unevenly or not through.
Unevenly cut chicken pieces will cook at different rates. Aim for uniform 1-inch pieces to ensure consistent cooking. Always use a thermometer to check oil temperature stability.
Again, overcrowding the fryer can lead to uneven cooking because the oil temperature fluctuates too much. Fry in small, manageable batches for best results.
Your Burning Questions Answered: Crispy Glazed Chicken Bites FAQs
Can I use chicken breast instead of thighs?
Absolutely, chicken breast can be used, but it tends to be less juicy and can dry out more easily if overcooked. Reduce frying time slightly, around 4-6 minutes, and ensure the internal temperature reaches 165°F (74°C).
Can I bake or air fry these chicken bites?
While frying yields the ultimate crispness, you can air fry or bake them. For air frying, preheat to 375°F (190°C) and spray liberally with oil, cooking for 10-15 minutes, flipping halfway. For baking, preheat to 400°F (200°C), arrange on a lightly oiled rack over a baking sheet, spray with oil, and bake for 20-25 minutes, flipping halfway. Crispness may vary.
How can I make this recipe gluten-free?
To make it gluten-free, substitute all-purpose flour with a gluten-free all-purpose flour blend (one containing xanthan gum works best) and use tamari instead of regular soy sauce. Ensure your cornstarch is certified gluten-free.
Adjusting the Spice Level: How to make it milder or hotter?
For a milder sauce, simply omit the red pepper flakes. To make it hotter, increase the amount of red pepper flakes in the glaze to 1 teaspoon or more, or add a dash of your favorite hot sauce to the finished glaze.
Ready to Create Your Own Crispy Glazed Chicken Bites Masterpiece?
You now have all the expert insights and precise steps to create truly exceptional Crispy Glazed Chicken Bites that defy the soggy chicken curse. This recipe is a testament to how simple techniques, applied thoughtfully, can elevate a dish from good to unforgettable.
Whether you’re looking for a standout weeknight dinner or an impressive appetizer for your next gathering, these golden fried bites are sure to become a cherished part of your culinary repertoire. Don’t just make chicken; create a sensation.
Round out your meal
If you enjoyed these crispy chicken bites, you might like these comforting chicken dishes next.
- For a hearty, warming meal, consider the Homestyle Chicken & Dumplings, featuring tender chicken and fluffy dumplings.
- If you’re in the mood for something rich and satisfying, try the Creamy Chicken Stew, a warming dish perfect for cooler evenings.
Dive into your kitchen with confidence and savor every perfectly crispy, wonderfully glazed bite. We can’t wait to hear how much you love them!
Crispy Glazed Chicken Bites
Course: Main CourseCuisine: Asian cuisineDifficulty: easy4
servings30
minutes25
minutes55
minutesAsian cuisine
Ingredients
For the Chicken:
1.5 pounds boneless, skinless chicken thighs or breast, cut into 1-inch pieces
1 teaspoon salt
1/2 teaspoon black pepper
1/2 teaspoon garlic powder
1 cup all-purpose flour
1/2 cup cornstarch, divided
2 large eggs, lightly beaten
Vegetable oil, for frying
For the Sauce:
1/2 cup low-sodium soy sauce
1/2 cup water
1/3 cup honey (or brown sugar)
2 tablespoons rice vinegar
1 tablespoon grated fresh ginger
2 cloves garlic, minced
1/2 teaspoon red pepper flakes (optional, for heat)
1 tablespoon cornstarch
2 tablespoons cold water (for slurry)
1 teaspoon sesame oil
For Garnish:
Chopped fresh parsley or cilantro
Sesame seeds (optional)
Extra red pepper flakes (optional)
Directions
- Prepare the Chicken: Pat chicken pieces thoroughly dry with paper towels. In a medium bowl, toss the chicken with salt, black pepper, and garlic powder.
- Set Up Breading Station: In one shallow dish, combine all-purpose flour and 1/4 cup of the cornstarch. In a second shallow dish, place the beaten eggs. In a third shallow dish, place the remaining 1/4 cup of cornstarch. This triple layer is key for our non-soggy coating!
- Dredge the Chicken (The Crispy Secret Step 1): Take each chicken piece and first dredge it in the flour-cornstarch mixture, shaking off excess. Then dip it into the beaten eggs, letting any excess drip off. Finally, coat it generously in the pure cornstarch, pressing gently to ensure an even, thick layer. Set aside on a wire rack.
- Prepare the Sauce: In a small saucepan, combine soy sauce, water, honey, rice vinegar, grated ginger, minced garlic, and red pepper flakes (if using). Whisk together the 1 tablespoon of cornstarch with 2 tablespoons of cold water in a separate small bowl to create a slurry. Bring the sauce mixture to a gentle simmer over medium heat. Stir in the cornstarch slurry and whisk constantly until the sauce thickens to a glossy, syrupy consistency, about 1-2 minutes. Remove from heat, stir in the sesame oil, and keep the sauce warm over very low heat or in a double boiler while you fry the chicken, stirring occasionally.
- Fry the Chicken (The Crispy Secret Step 2): Heat 2-3 inches of vegetable oil in a large, heavy-bottomed pot or Dutch oven over medium-high heat until it reaches 350F (175C). Do not overcrowd the pot; fry the chicken in batches. Carefully place a few pieces into the hot oil and fry for 5-7 minutes, or until golden brown, cooked through, and very crispy. Remove with a slotted spoon to a clean wire rack set over a baking sheet to drain as you complete each batch.
- Combine and Serve (The Crispy Secret Step 3): Once all chicken is fried and immediately after removing the last batch from the oil, in a large bowl, add all the hot, freshly fried chicken pieces. Pour the warm, thickened sauce over the chicken. Toss quickly and gently to coat all the pieces evenly. This quick toss in a warm, reduced sauce prevents moisture buildup and locks in that crunch.
- Garnish and Enjoy: Transfer the glazed chicken bites to a serving platter. Garnish with chopped parsley or cilantro and sesame seeds if desired. Serve immediately with extra sauce on the side for dipping. Enjoy that satisfying crunch!
Notes
- The triple layer breading and quick toss in warm, reduced sauce are crucial for maintaining crispiness.