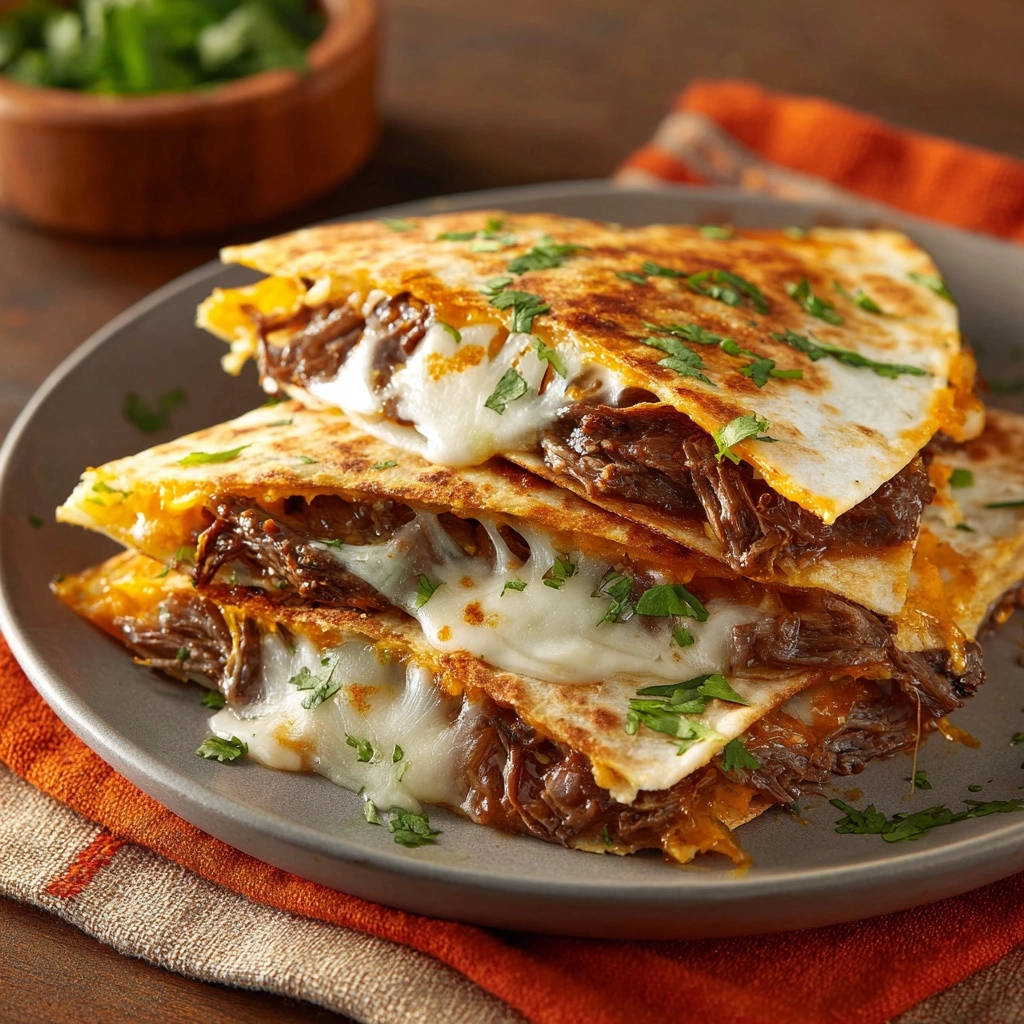
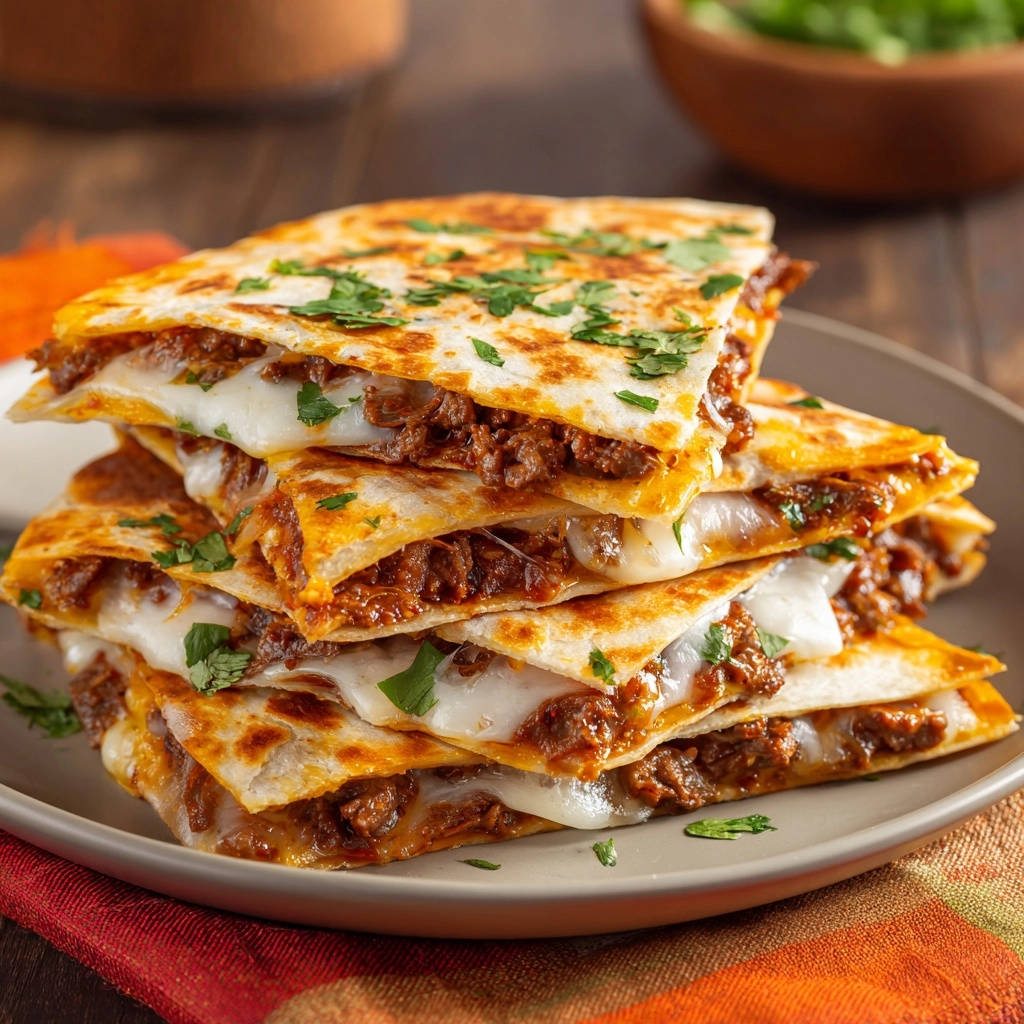
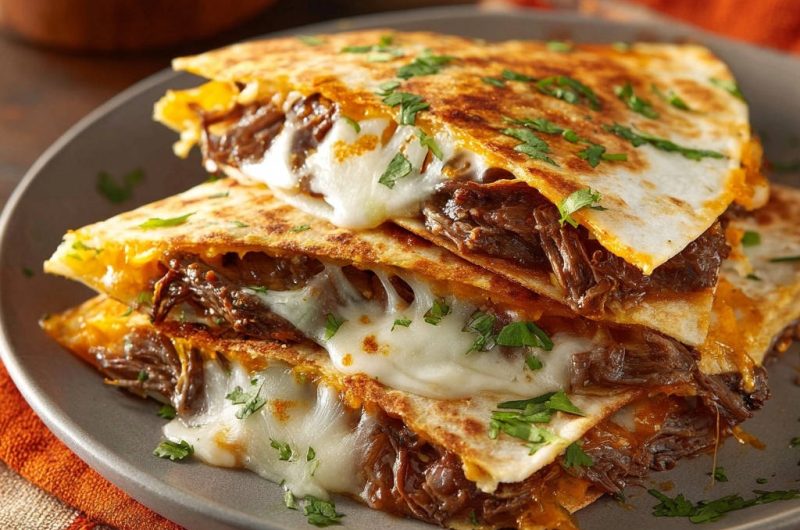
Shredded Beef & Double Cheese Quesadillas: Crispy, Never Soggy
There’s nothing more disheartening than anticipating a perfectly crispy quesadilla, only to find it’s turned into a limp, greasy mess. I’ve experienced that frustration countless times, which inspired me to perfect these Shredded Beef & Double Cheese Quesadillas.
This recipe isn’t just about the succulent, savory shredded beef and a double layer of wonderfully gooey, melty cheese. It’s about a simple, foolproof technique that guarantees a golden-crisp tortilla every single time, banishing sogginess forever. Get ready to elevate your quesadilla game with an unforgettable crunch!
Why This Recipe is a Game-Changer for Quesadilla Lovers
The End of Soggy Tortillas: Our Golden-Crisp Guarantee
The traditional quesadilla often falls short, yielding a soft or overly oily tortilla instead of a satisfying crunch. Our method meticulously addresses this common issue, focusing on precise heat management and ingredient layering.
Get Our Best Recipes Weekly!
Join thousands of food lovers and get delicious recipes delivered to your inbox.
You’ll achieve that coveted golden-brown crispness that makes every bite truly enjoyable, transforming your entire perception of a perfect quesadilla.
Double the Deliciousness: Rich Shredded Beef & Gooey Cheese
This recipe celebrates the indulgent combination of tender, savory shredded beef paired with not one, but two types of premium melting cheese. Each element is chosen to maximize flavor and texture.
For more beef and cheese ideas, check out these easy beef and cheese quesadillas.
The warm beef, rich with savory notes, perfectly complements the luxurious, stretchy blend of Monterey Jack and mild cheddar, creating an irresistible filling.
Effortless Enjoyment: A Recipe Anyone Can Master
Despite delivering professional-level crispness and flavor, this recipe is remarkably straightforward and accessible. It streamlines the cooking process, making it enjoyable for all skill levels.
Whether it’s a quick weeknight dinner or a casual gathering with friends, these Shredded Beef & Double Cheese Quesadillas offer a stress-free path to deliciousness.
The Building Blocks of Flavor: Ingredients for Success
Tortillas: The Foundation of Your Crispy Quesadilla
Flour tortillas are essential for this recipe’s success. Opt for 8-inch or 10-inch tortillas, depending on your preferred quesadilla size and how much filling you desire.
Their inherent flexibility allows for easy folding, while their thin structure readily crisps up when cooked correctly.
Hearty Filling: Warm Shredded Beef, Seasoned to Perfection
The star of our filling is pre-cooked, warm shredded beef. This ensures the beef is already tender and infused with flavor before it even hits the pan.
You can use leftover pot roast, slow-cooker beef, or even store-bought pre-cooked shredded beef, ensuring it’s well-seasoned with complementary spices like cumin, chili powder, and garlic.
For more tender beef, try these cheesy shredded beef tacos.
The Gooey Core: A Blend of Monterey Jack and Cheddar
Our “double cheese” secret lies in combining Monterey Jack and mild cheddar. Monterey Jack melts beautifully, offering a creamy, stretchy texture and a very mild flavor profile.
Mild cheddar adds a gentle sharpness and vibrant color, enhancing the overall cheese experience. This duo ensures maximum melt and balanced flavor.
The Finishing Touches: Fresh Cilantro & Cooking Fat
Freshly chopped cilantro is not just a garnish; it provides a vital burst of fresh, herbaceous flavor that cuts through the richness of the beef and cheese. Don’t skip it.
A neutral cooking oil, like vegetable or canola, or unsalted butter, is needed in minimal amounts. This fat facilitates crisping without contributing excessive greasiness.
Your Essential Kitchen Toolkit for Quesadilla Perfection
The Perfect Pan: Non-Stick or Cast Iron
A large non-stick skillet or a well-seasoned cast-iron pan is indispensable for achieving that perfect crisp. Both materials offer excellent heat distribution and release.
These pans prevent sticking and promote even browning, ensuring your tortillas toast uniformly to a golden hue.
Spatula Savvy & Prep Gear
A wide, sturdy spatula is crucial for safely flipping your filled quesadillas without tearing them or losing any precious filling. It provides the necessary support.
You’ll also need mixing bowls for combining cheeses and a sharp knife for neatly cutting your finished quesadillas into wedges.
Unlocking the Crispy Secret: The Art of the Perfect Tortilla
Mastering Medium-Low Heat: The Tortilla’s Best Friend
The most critical step in achieving a truly crispy quesadilla is cooking it over medium-low heat. High heat will quickly burn the tortilla before the cheese has a chance to fully melt and the interior warms through.
Medium-low heat allows for a slow, gentle toasting, gradually dehydrating the tortilla to develop an exceptional crisp texture while ensuring the filling reaches gooey perfection.
The Invisible Shield: Your First Cheese Layer as a Moisture Barrier
The initial sprinkle of cheese directly onto the tortilla, before adding the beef, acts as a genius moisture barrier. As this cheese melts, it forms a protective layer against the moisture released by the beef.
This clever trick prevents the tortilla from absorbing liquid from the filling, which is a primary cause of dreaded sogginess. It truly locks in the crispness.
Just Enough Fat: Avoiding Greasiness for Pure Crunch
While some fat is necessary for browning and flavor, too much will lead to a greasy, heavy quesadilla rather than a light, crispy one. A very light brush of oil or a small pat of butter is all you need.
The goal is to lightly coat the pan surface, not to have oil pooling. This minimal fat application ensures a dry, golden-brown exterior that snaps with every bite.
From Prep to Perfection: Your Step-by-Step Guide to Irresistible Quesadillas
-
Step 1: The Organized Workstation
Before you begin cooking, ensure all your ingredients are prepped and within easy reach on your counter. Warm the cooked shredded beef, thoroughly mix the two shredded cheeses in a bowl, and finely chop your fresh cilantro for garnish.
This organized setup creates a smooth, efficient cooking process, allowing you to focus on perfect execution without interruption.
-
Step 2: Gently Warm Your Pan (The Secret Starts Here!)
Place your large non-stick skillet or cast-iron pan over medium-low heat. This specific temperature is absolutely crucial for achieving the perfect crispness without burning the tortilla.
Allow the pan to heat gently and evenly for a few minutes. Patience at this stage is key to setting the foundation for a flawless quesadilla.
-
Step 3: Lightly Grease the Surface
Once the pan is gently warmed, add just a very light brush of neutral cooking oil or a small pat of unsalted butter. You only want a thin, even film to lightly coat the bottom, not a visible pool of fat.
Excess oil is a common culprit for a greasy, rather than delightfully crispy, tortilla, directly undermining our goal of no sogginess.
-
Step 4: The First Tortilla & The Moisture Barrier Cheese
Lay one flour tortilla flat in the prepared pan. Immediately sprinkle about a quarter cup of your mixed cheese over half of the tortilla, covering it evenly.
This initial layer of cheese is your secret weapon; as it melts, it forms a crucial moisture barrier that helps “glue” the tortilla crisp as it cooks.
-
Step 5: Load with Beef and More Cheese
Spoon a generous portion of your warm shredded beef over the cheese-covered half of the tortilla. Then, sprinkle another quarter cup of the mixed cheese directly over the beef.
Using warm beef ensures the quesadilla heats through more quickly, promoting efficient cheese melting and a perfectly warm center.
-
Step 6: Fold and Gently Press
Carefully fold the empty half of the tortilla over the filled side, creating a crescent shape. Gently press down on the top with a spatula to ensure good contact between the tortilla halves and the filling.
-
Step 7: Cook to Golden Perfection (Both Sides!)
Cook the quesadilla for 3-4 minutes per side. Watch carefully for a beautiful, even golden-brown color and listen for a gentle sizzle, indicating the crisping process is underway.
The consistent low heat prevents scorching and ensures the inside is thoroughly heated, the cheese is perfectly gooey, and the exterior achieves maximum crispness.
Flip the quesadilla carefully with a wide spatula to avoid tearing or spilling the delicious filling.
-
Step 8: Repeat and Replenish
Once both sides are golden and crispy, and the cheese is fully melted and beautifully stretching, remove the quesadilla from the pan. Transfer it to a cutting board or plate.
Repeat this process with your remaining tortillas and filling, adding a tiny bit more oil or butter to the pan if needed for each new quesadilla to maintain even crisping and flavor.
-
Step 9: Rest, Cut, and Garnish for Enjoyment
Allow the cooked quesadillas to rest for just a minute or two before cutting them into wedges. This brief rest period allows the cheese to set slightly, preventing the filling from oozing out excessively when sliced.
Garnish generously with fresh cilantro before serving immediately. Now, savor that perfect crunch and wonderfully gooey center you’ve created!
Chef’s Secrets: Elevate Your Quesadilla Game
The Power of Freshly Shredded Cheese
While pre-shredded cheese is convenient, it often contains anti-caking agents that can hinder smooth melting. Grating your own cheese from a block delivers superior melt and a creamier texture.
Take the extra minute to shred your own Monterey Jack and cheddar; you’ll taste the difference in your cheesy beef quesadillas.
Don’t Overstuff: Less Is More for Crispiness
It’s tempting to pack your quesadilla with as much filling as possible, but overstuffing is a common pitfall. Too much filling makes it difficult to fold, cook evenly, and achieve a truly crisp tortilla.
Aim for a generous but manageable amount of beef and cheese, allowing the tortilla to cook properly and develop its signature crunch.
Creative Add-Ins: Beyond the Beef & Cheese
Once you master the basic crispy quesadilla technique, feel free to get creative with additions. Sautéed onions, bell peppers, corn, or black beans can add extra layers of flavor and texture.
Ensure any vegetable additions are cooked down to minimize moisture, preventing any potential sogginess. This customizes your homemade quesadillas.
Serving Temperature Matters
For the ultimate experience, serve your Shredded Beef & Double Cheese Quesadillas immediately after cooking. The peak crispness and melty cheese are best enjoyed fresh from the pan.
While they are still delicious warm, the tortilla’s crispness will diminish over time.
Common Quesadilla Conundrums Solved
Why is My Quesadilla Still Soggy or Greasy?
Sogginess or greasiness usually stems from using too much cooking oil or butter, or not allowing the first layer of cheese to act as a moisture barrier. Ensure your pan has only a very light film of fat.
Also, cooking at too high a heat can result in a burned exterior before the interior has a chance to crisp properly.
Cheese Not Melting Evenly or Tortilla Burning?
This is often a sign that your heat is either too high or unevenly distributed. Always use medium-low heat for cooking quesadillas, allowing for slow, gentle melting and browning.
If your pan has hot spots, rotate the quesadilla occasionally or adjust its position to promote even cooking across the surface.
Filling Oozing Out When I Flip?
Filling oozing out can happen if the quesadilla is overfilled, or if the cheese hasn’t fully melted and “glued” the filling together before flipping. Ensure you’re using a manageable amount of filling.
Also, give it sufficient time on the first side for the cheese to start melting and securing the contents before attempting to flip with a wide, confident spatula.
Perfect Pairings: Serving Suggestions & Flavorful Sides
Classic Toppings & Dips
Elevate your Shredded Beef & Double Cheese Quesadillas with classic accompaniments. A dollop of cool sour cream or plain Greek yogurt offers a creamy contrast.
Fresh salsa, zesty guacamole, or your favorite hot sauce add vibrant flavor and a kick, perfectly complementing the rich beef and melty cheese.
Side Dishes that Shine
Round out your meal with simple yet satisfying side dishes. A crisp, refreshing green salad with a light vinaigrette provides a nice textural and flavor balance.
Alternatively, serve with fluffy cilantro-lime rice or seasoned black beans for a more substantial and traditional Tex-Mex experience.
Round Out Your Meal
Looking for more hearty dishes to enjoy with your shredded beef quesadillas?
- For a comforting opener, consider the loaded potato soup, offering creamy textures that complement the cheesy quesadillas.
- Another satisfying choice is the creamy southwest chicken chili, bringing similar bold flavors to your table.
Plan Ahead: Make-Ahead & Storage Tips
Can I Prep the Filling in Advance?
Absolutely! The shredded beef can be cooked and seasoned up to 3-4 days in advance, stored in an airtight container in the refrigerator. The mixed cheese can also be prepped ahead of time.
Having these components ready makes assembly incredibly quick, perfect for busy weeknights when you crave delicious homemade quesadillas.
Storing Leftover Quesadillas
While best enjoyed fresh, leftover quesadillas can be stored. Allow them to cool completely before placing them in an airtight container in the refrigerator for up to 2-3 days.
Separating layers with parchment paper can help prevent sticking.
The Best Way to Reheat for Crispy Results
To revive that coveted crispness, avoid the microwave for reheating. Instead, use a dry skillet over medium heat, an air fryer, or a preheated oven.
Cook until the quesadilla is hot through and the tortilla is crispy again, ensuring a delightful reheat.
Your Shredded Beef & Double Cheese Quesadilla Questions, Answered
What kind of shredded beef works best for this recipe?
For the most tender and flavorful shredded beef, cuts like chuck roast or brisket are ideal. These cuts become incredibly tender when cooked slowly.
You can prepare the beef in a slow cooker, Instant Pot, or by braising until it easily pulls apart. Season it with cumin, chili powder, garlic powder, onion powder, and a touch of smoked paprika for a robust flavor.
Can I use different types of cheese?
Yes, you can certainly experiment with other cheeses. Good melting cheeses like Oaxaca, Colby Jack, or even a mild white American cheese can work well.
However, the combination of Monterey Jack and mild cheddar provides the optimal balance of melt, stretch, and flavor for these Shredded Beef & Double Cheese Quesadillas.
Is there a way to make these Shredded Beef Quesadillas spicier?
Absolutely! To add heat, incorporate finely diced jalapeños or serrano peppers into the shredded beef filling. You can also mix a pinch of cayenne pepper or extra chili powder directly into the beef seasoning.
Serving with a spicy salsa or a drizzle of your favorite hot sauce is another simple way to amp up the heat.
What if I don’t have fresh cilantro?
While fresh cilantro adds a unique brightness, if you don’t have it or aren’t a fan, you can omit it. No direct substitute truly replicates its flavor.
However, a squeeze of fresh lime juice over the quesadilla after cooking can offer a similar burst of acidity and freshness.
Can I make a larger batch for a crowd?
Yes, this recipe scales up beautifully for entertaining. Simply prepare a larger quantity of the shredded beef and cheese mixture.
To keep quesadillas warm while cooking multiple batches, place them on a baking sheet in a preheated oven set to a low temperature (around 200°F / 95°C) until ready to serve.
Ready to Sizzle? Share Your Crispy Creation!
Now that you have the ultimate guide to creating crispy, never-soggy Shredded Beef & Double Cheese Quesadillas, it’s time to put your skills to the test. Experience the joy of that perfect crunch, the savory beef, and the irresistible gooey cheese.
Don’t just keep this triumph to yourself! Share your magnificent creations on social media and tag us. We can’t wait to see your perfectly golden-brown, cheesy beef quesadillas!
Shredded Beef & Double Cheese Quesadillas
Course: Main CourseCuisine: Mexican CuisineDifficulty: easy4
servings15
minutes25
minutes40
minutesMexican Cuisine
Ingredients
Flour tortillas (8-inch or 10-inch)
Cooked shredded beef (warm, seasoned)
Shredded Monterey Jack cheese
Shredded mild cheddar cheese
Fresh cilantro, finely chopped (for garnish)
Neutral cooking oil (such as vegetable or canola) OR unsalted butter
Directions
- Prepare your workstation. Have your cooked shredded beef warmed and ready. Mix the two shredded cheeses in a bowl. Finely chop your cilantro for garnish.
- The Secret to Crispy Tortillas: Place a large non-stick skillet or cast-iron pan over medium-low heat. This is crucial: medium-low heat allows the tortilla to slowly toast and crisp without burning, and gives the cheese time to melt thoroughly.
- Once the pan is gently warmed, add a very light brush of cooking oil or a small pat of butter. You want just enough to lightly coat the bottom, not pool. Too much fat leads to greasiness and sogginess.
- Lay one flour tortilla flat in the prepared pan. Immediately sprinkle about a quarter cup of the mixed cheese over half of the tortilla. This initial layer of cheese will act as a moisture barrier and help “glue” the tortilla crisp as it melts.
- Spoon a generous portion of the warm shredded beef over the cheese. Then, sprinkle another quarter cup of cheese over the beef.
- Fold the empty half of the tortilla over the filling. Gently press down with a spatula.
- Cook for 3-4 minutes per side. Watch carefully for a beautiful golden-brown color and listen for a gentle sizzle. The lower heat prevents scorching and ensures the inside heats through and the cheese gets perfectly gooey while the outside crisps. Flip carefully with a wide spatula.
- Once both sides are golden and crispy, and the cheese is fully melted and stretching, remove the quesadilla from the pan. Repeat with remaining tortillas and filling, adding a tiny bit more oil if needed for each new quesadilla.
- Let the quesadillas rest for a minute before cutting into wedges. Garnish generously with fresh cilantro and serve immediately. Enjoy that perfect crunch and gooey center!
Notes
- The key to crispy quesadillas is cooking on medium-low heat with minimal oil and a cheese moisture barrier.