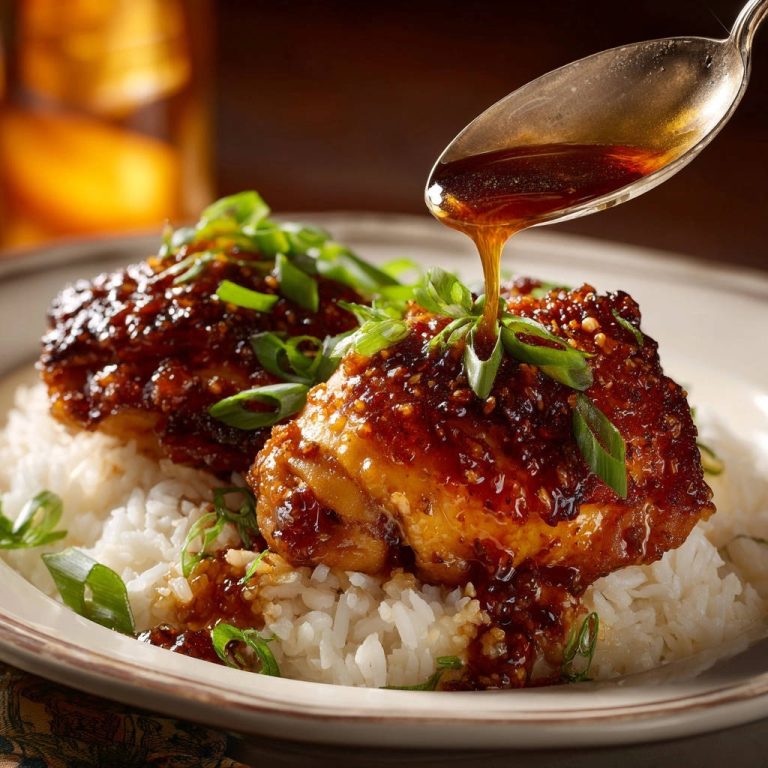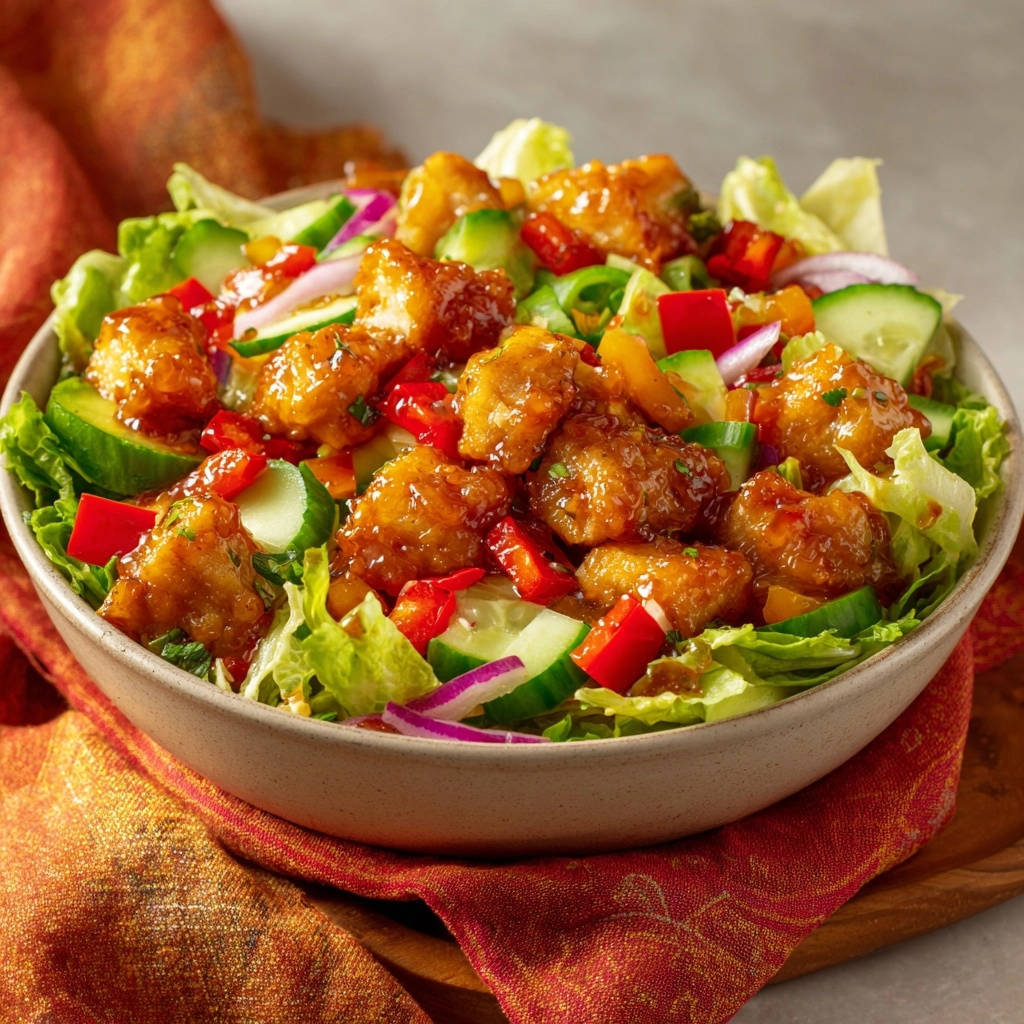
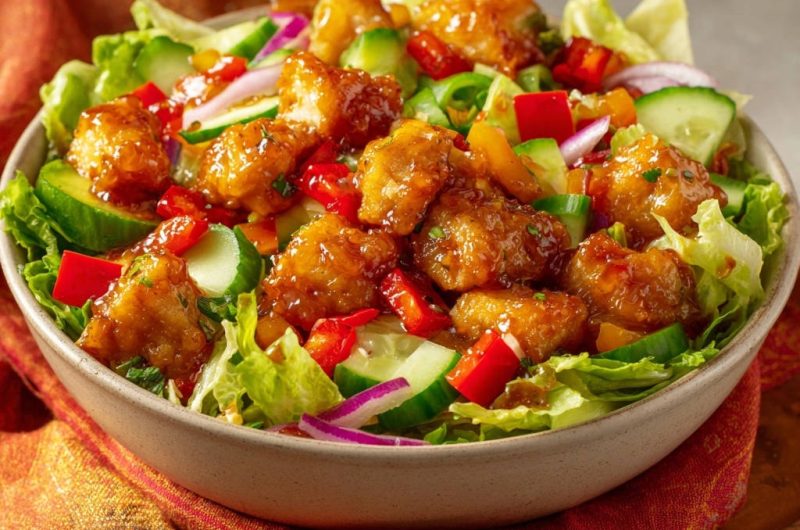
Crispy Glazed Chicken Salad: Savor the Crunch, No More Soggy Bites!
There’s nothing quite as disappointing as biting into what promises to be a crispy glazed chicken, only for it to be soft and soggy, especially when nestled in a fresh salad. I’ve been there, and I know the frustration! But after countless experiments, I’ve cracked the code to a truly exceptional Crispy Glazed Chicken Salad that maintains its irresistible crunch from the first forkful to the last.
This recipe isn’t just about delicious flavor; it’s a revolutionary technique ensuring your chicken stays perfectly crisp, even after being coated in a vibrant, sweet, and tangy glaze. Get ready to transform your weeknight meals with a dish that consistently delivers juicy chicken, a glorious golden crunch, and a burst of fresh flavor.
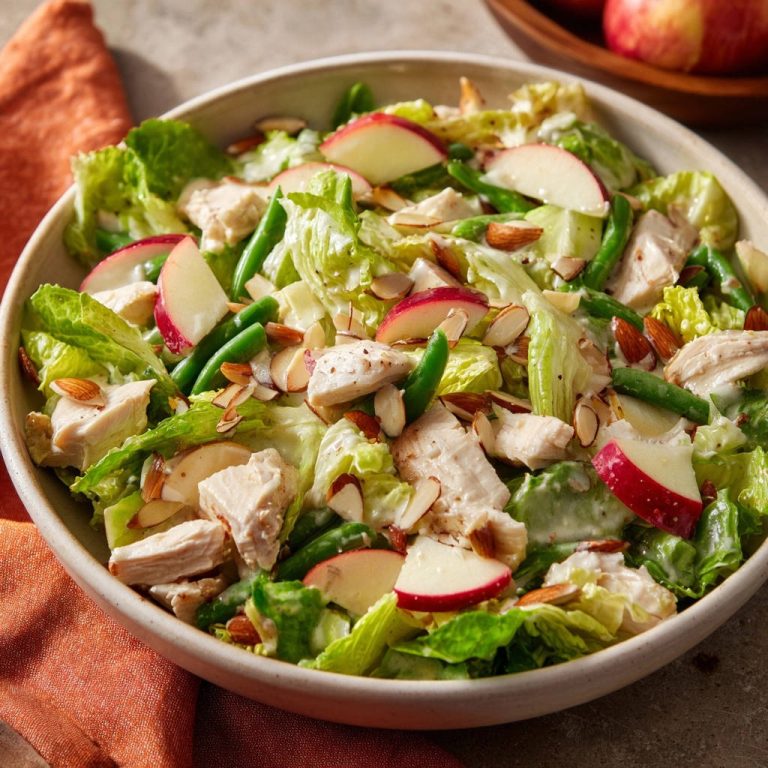
For another way to enjoy juicy chicken, you might want to try Classic Cobb Salad.
Get Our Best Recipes Weekly!
Join thousands of food lovers and get delicious recipes delivered to your inbox.
The Crispy Glazed Chicken Salad That Stays Crispy: Why This Recipe Works Wonders
Finally, No More Soggy Chicken: Our Game-Changing Secret
The common pitfall with glazed chicken salads is that the moisture from the glaze quickly turns any crisp coating into a soft, unappealing texture. Our secret lies in a multi-pronged approach that ensures your chicken develops an ultra-crispy crust, robust enough to withstand the sauce.
We employ a strategic double dredge, meticulous oil temperature control during frying, and a precise, swift glazing technique. This combination creates a resilient exterior that locks in juiciness while preventing sogginess, making this a truly unique Crispy Glazed Chicken Salad experience.
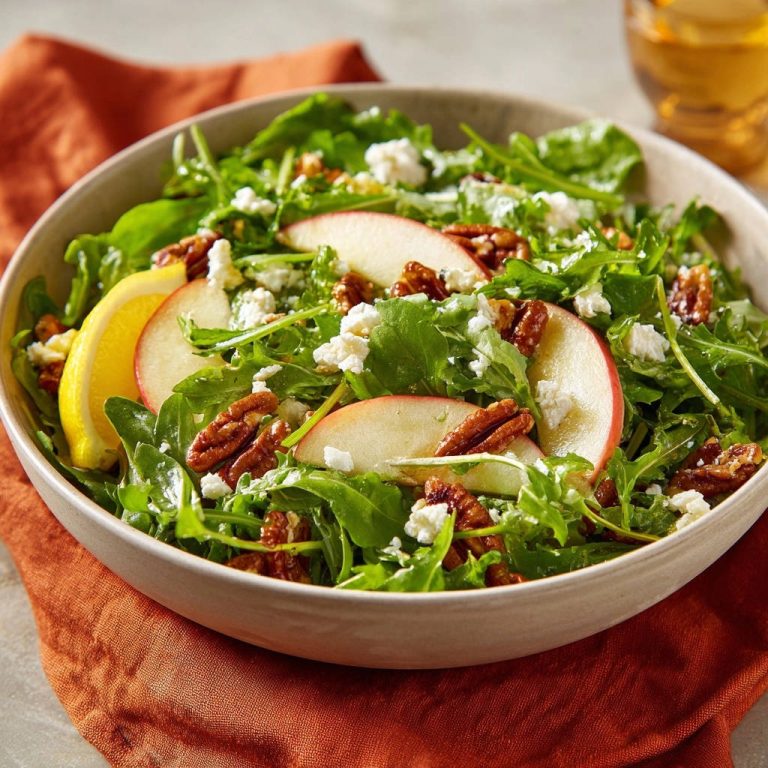
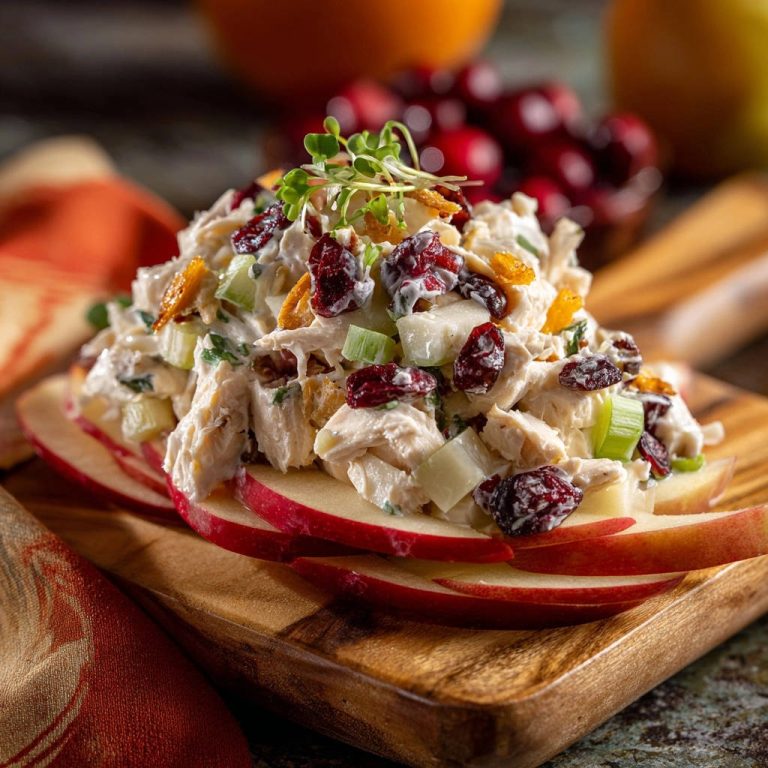
For more ways to achieve juicy results, explore the secrets in crisp apple chicken salad.
A Burst of Flavor: Sweet, Tangy, and Perfectly Balanced
Beyond the texture, this recipe shines with its perfectly balanced sweet and tangy glaze. Crafted with bright orange juice, sharp rice vinegar, savory soy sauce, and a touch of honey, it’s a symphony of flavors.
Fresh ginger and garlic add aromatic depth, while a hint of red pepper flakes offers an optional, gentle warmth. This vibrant glaze beautifully complements the rich, fried chicken and the crisp, fresh salad vegetables, creating a harmonious and utterly addictive dish.
Why This Recipe Will Become Your New Go-To
This isn’t just a recipe; it’s a culinary triumph that will quickly earn a permanent spot in your rotation. It’s surprisingly easy to execute once you understand the key techniques, delivering restaurant-quality results at home.
Perfect for a satisfying lunch or a light, flavorful dinner, this Crispy Glazed Chicken Salad offers versatility and family-friendliness. Its fresh ingredients and dynamic flavors make it a crowd-pleaser that you’ll be proud to serve again and again.
Gather Your Culinary Arsenal: Essential Ingredients for Flavor and Crunch
For the Irresistibly Crispy Chicken Bites
Boneless, Skinless Chicken Breasts (2): Cut into uniform 1-inch pieces. This ensures even cooking and perfect bite-sized portions.
All-Purpose Flour (1/2 cup) & Cornstarch (1/4 cup): The cornstarch is critical here; it adds an extra layer of crispness and a lighter, airier coating than flour alone, making the chicken incredibly crunchy.
Salt (1/2 teaspoon) & Black Pepper (1/4 teaspoon): Essential seasonings for the chicken coating, building flavor from the inside out.
Large Egg (1), whisked: Acts as the binding agent, helping the flour mixture adhere beautifully to the chicken pieces.
Oil for Frying (Vegetable or Canola): A neutral oil with a high smoke point is best for achieving that desired golden crispness without imparting unwanted flavors.
Crafting the Vibrant Sweet & Tangy Glaze
Orange Juice (1/2 cup) & Rice Vinegar (1/4 cup): These form the bright, tangy base of our glaze. The orange juice adds a natural sweetness and citrusy note, while rice vinegar provides a delicate acidity.
Soy Sauce (2 tablespoons): Delivers a crucial umami depth and savory balance to the sweet and tangy elements.
Honey or Brown Sugar (2 tablespoons): Provides the perfect touch of sweetness, complementing the other flavors and helping the glaze caramelize slightly.
Ketchup (1 tablespoon): Offers a subtle tang and rich, tomatoey depth that rounds out the glaze’s flavor profile.
Garlic (1 clove, minced) & Fresh Ginger (1/2 teaspoon, grated): These fresh aromatics are key to the glaze’s vibrant, complex taste, infusing it with warmth and spice.
Red Pepper Flakes (1/4 teaspoon, optional): Adds a gentle, pleasant heat that enhances the overall flavor without overpowering it. Adjust to your preference.
Cornstarch Slurry (1 tablespoon cornstarch mixed with 2 tablespoons cold water): This is our secret to a glossy, thick glaze that clings perfectly to the chicken. It ensures the sauce coats, rather than soaks, the crispy exterior.
Building the Fresh and Flavorful Salad Base
Chopped Romaine or Iceberg Lettuce (6 cups): Provides a wonderfully crisp and neutral foundation for the salad, letting the chicken and glaze shine.
Large Cucumber (1), halved lengthwise and sliced: Adds a refreshing coolness and satisfying crunch to every bite.
Red Bell Pepper (1/2, diced) & Yellow Bell Pepper (1/2, diced): Contribute vibrant color, a sweet crunch, and essential vitamins to the salad.
Red Onion (1/4, thinly sliced): Offers a delicate sharpness and pungent aroma, cutting through the richness of the glazed chicken.
Always ensure your vegetables are fresh and thoroughly dry. Excess moisture can dilute the flavors and make the salad watery.
Equipping Your Kitchen: Tools for Crispy Glazed Chicken Salad Success
Having the right tools at hand makes all the difference in achieving perfect results for your Crispy Glazed Chicken Salad.
Must-Have Utensils for Frying
Large Heavy-Bottomed Skillet or Dutch Oven: Essential for maintaining a consistent oil temperature, which is crucial for even cooking and crispness.
Slotted Spoon or Spider: Allows you to safely remove the fried chicken while draining excess oil.
Wire Rack Set Over Paper Towels: A non-negotiable for draining oil and ensuring air circulation around the chicken. This step is vital for keeping the chicken crisp after frying.
Glaze and Salad Prep Essentials
Small Saucepan: Ideal for whisking and simmering the glaze to the perfect consistency.
Whisk: Necessary for smooth glaze preparation and for combining the dry dredging ingredients.
Cutting Board and Sharp Knife: For efficiently preparing your chicken and all the fresh salad vegetables.
Large Salad Bowl: To comfortably toss and serve your vibrant salad base.
Your Crispy Glazed Chicken Salad Journey: A Detailed Step-by-Step Guide
Prepping Your Fresh Salad Base
In a large bowl, combine your chopped romaine or iceberg lettuce, sliced cucumber, diced red and yellow bell peppers, and thinly sliced red onion. Take a moment to ensure all your vegetables are thoroughly dry.
This is crucial; any excess moisture on the greens can lead to a watery salad and dilute the delicious glaze. A salad spinner is excellent for achieving perfectly dry greens.
Mastering the Sweet & Tangy Glaze
In a small saucepan, whisk together the orange juice, rice vinegar, soy sauce, honey (or brown sugar), ketchup, minced garlic, grated ginger, and red pepper flakes (if using). Bring this mixture to a gentle simmer over medium heat, stirring occasionally.
Once simmering, slowly whisk in the cornstarch slurry. Continue to cook and stir for 1-2 minutes until the sauce thickens into a glossy glaze that beautifully coats the back of a spoon. Remove from heat and keep it warm, ready for your crispy chicken.
The Double Dredge for Unmatched Crispness
Prepare two shallow dishes: in the first, whisk together the flour, cornstarch, salt, and pepper. In the second, place the whisked egg. Now, pat your chicken pieces very dry with paper towels; this is a critical step for a crisp coating that truly adheres.
First, dredge each chicken piece thoroughly in the seasoned flour mixture, shaking off any excess. Next, dip it into the whisked egg, allowing any excess to drip off. Finally, dredge it generously again in the flour mixture, pressing firmly to ensure a complete and even coat. Set these prepared pieces aside.
Frying for Gold: Achieving Perfect Chicken Texture
Heat about 2 inches of frying oil in a large heavy-bottomed skillet or Dutch oven over medium-high heat until it reaches 350-375°F (175-190°C). Accuracy here is key for perfectly crispy chicken.
Add chicken pieces carefully to the hot oil, ensuring you don’t overcrowd the pan. Frying in batches is essential to maintain the oil’s temperature, which directly impacts crispness. Fry for 4-6 minutes, turning occasionally, until the chicken is cooked through, deep golden brown, and, most importantly, extra crispy. This superior crispness is what will prevent sogginess when sauced.
Remove the cooked chicken with a slotted spoon and place it on a wire rack set over paper towels to drain any excess oil. Repeat this process with the remaining chicken until all pieces are fried to perfection.
The Swift Glaze and Immediate Assembly
Once all the chicken is fried, return the warm glaze to very low heat for about 30 seconds to ensure it’s fluid and easily pourable. Immediately add the hot, crispy fried chicken directly into the warm glaze in the saucepan.
Toss the chicken quickly but thoroughly to coat all the pieces evenly. This swift action allows the glaze to cling beautifully to the crispy exterior without penetrating and softening it. The goal is a quick embrace, not a long soak.
Without delay, spoon the glazed, crispy chicken directly over your prepared salad base. This immediacy is crucial for enjoying the peak crispness of the chicken.
Serving Your Ultimate Crispy Glazed Chicken Salad
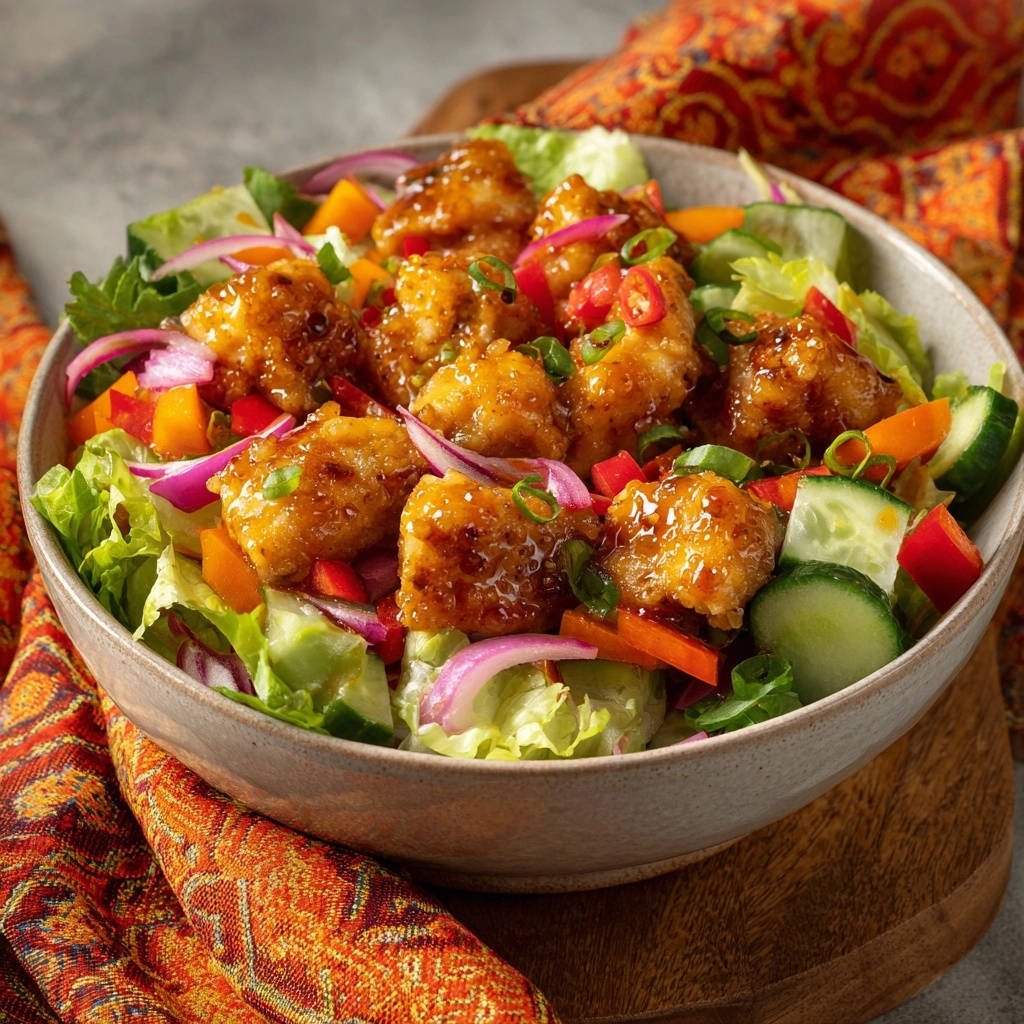
Immediately drizzle any remaining glaze over the top of your assembled Crispy Glazed Chicken Salad. Serve at once to fully savor the incredible crunch and harmonious flavors.
Every bite will offer that ultimate satisfaction of crispy chicken perfectly coated in a sweet and tangy glaze, paired with fresh, crisp vegetables.
Unlock the Crispy Glazed Chicken Salad Secrets: Pro Tips for Success
Achieving a truly exceptional Crispy Glazed Chicken Salad relies on a few expert insights. These tips will elevate your dish from good to unforgettable.
The Power of Dryness: Chicken and Veggies
Chicken: Thoroughly patting your chicken dry before dredging is non-negotiable. Moisture on the chicken will prevent the flour coating from adhering properly, resulting in a less crispy and potentially greasy exterior.
Salad Greens: Ensure your lettuce and other vegetables are impeccably dry. Excess water will dilute your delicious glaze and make your entire salad soggy far too quickly. Use a salad spinner for best results.
Oil Temperature: Your Key to Golden-Brown Perfection
Maintaining the ideal oil temperature (350-375°F) is critical. If the oil is too cool, your chicken will absorb too much oil and become greasy, not crispy. If it’s too hot, the coating will burn before the chicken is cooked through.
Use a kitchen thermometer to monitor your oil temperature closely. Adjust heat as needed to keep it within the optimal range.
Batch Frying for Consistent Crispness
Never overcrowd your frying pan. Adding too much chicken at once drastically lowers the oil’s temperature, leading to inconsistent cooking and less crispy results. Work in small batches.
This allows the oil temperature to recover quickly between additions, ensuring each piece of chicken fries to a uniform, golden crispness.
The Glaze and Toss Timing: Don’t Delay!
The moment your chicken comes out of the hot oil and gets drained, it should go directly into the warm glaze. This immediate transfer is essential for the glaze to cling beautifully to the hot, crispy surface.
Serve your Crispy Glazed Chicken Salad immediately after glazing and assembling. The crispness of the chicken is at its peak right after this final step, so don’t let it wait!
Flavor Boosters for Your Glaze
For an extra layer of brightness, squeeze in a touch of fresh lime juice after the glaze has thickened. This adds a zesty pop that complements the sweet and tangy notes.
A few drops of toasted sesame oil at the very end can add a wonderful nutty aroma to the glaze. For a bolder heat, increase the red pepper flakes or add a tiny dash of sriracha.
Beyond the Bowl: Creative Ways to Enjoy Your Crispy Glazed Chicken Salad
While this Crispy Glazed Chicken Salad is a masterpiece on its own, there are many ways to enhance or adapt it to your preferences.
Perfect Pairings: What to Serve Alongside
Warm Naan or Pita Bread: Great for soaking up any extra glaze and adding another textural element.
Simple Steamed Rice: A light and neutral accompaniment that can be enjoyed on the side or even as a bed for the salad.
Fresh Spring Rolls: Offer a complementary light and fresh element, especially if filled with raw vegetables.
Customizing Your Crispy Glazed Chicken Salad
Greens Galore: Experiment with different lettuce varieties like spring mix or baby spinach, or even a blend of shredded cabbage for extra crunch.
Nutty Additions: Toasted cashews, peanuts, or slivered almonds provide a delightful crunch and richness.
Fruity Touches: Mandarin orange segments, diced mango, or even sliced grapes can add bursts of sweetness and juiciness.
Creamy Avocado: Cubed avocado brings a creamy texture and healthy fats, balancing the crispness and tang.
Seed Power: Sprinkle with sesame seeds, chia seeds, or hemp hearts for added nutrition and subtle texture.
Maximizing Freshness: Storage and Make-Ahead Tips
Planning ahead can make enjoying your Crispy Glazed Chicken Salad even easier, but a few considerations are key for maintaining quality.
Can You Make Crispy Glazed Chicken Salad Ahead?
You can certainly prep components in advance. The salad vegetables can be chopped and stored separately in airtight containers in the refrigerator, ensuring they are very dry. The glaze can also be made ahead and stored in the fridge, then gently reheated just before assembly.
However, for the ultimate crispness, the chicken should be fried and glazed just before serving. The magic of this dish truly lies in that immediate assembly of hot, crispy chicken with the warm glaze and fresh salad.
Best Practices for Storing Leftovers
If you have leftovers, it’s best to store the glazed chicken separately from the salad greens. Place the chicken in an airtight container in the refrigerator for up to 2-3 days.
To reheat, the chicken will lose some of its initial crispness, but you can revive it somewhat by reheating it in an air fryer at 350°F (175°C) for 5-7 minutes, or in an oven at 375°F (190°C) until warmed through. Keep the salad components separate to maintain their freshness, combining only when ready to eat.
Common Questions & Quick Fixes: Troubleshooting Your Crispy Glazed Chicken Salad
Even expert cooks encounter occasional challenges. Here are solutions to common issues you might face with your Crispy Glazed Chicken Salad.
Why is my chicken not crispy enough?
Several factors can contribute to less-than-perfect crispness. Ensure your chicken pieces were patted very dry before dredging; moisture is the enemy of crispness. Verify your oil temperature was consistently between 350-375°F-too low, and chicken absorbs oil, becoming soggy; too high, and it burns before cooking through.
Additionally, avoid overcrowding the pan, as this significantly drops the oil temperature. Make sure your double dredge was thorough, creating a robust coating.
My glaze is too thin or too thick. What happened?
If your glaze is too thin, it likely needs a bit more time to simmer, or you might need a tiny additional amount of cornstarch slurry. Whisk in another half teaspoon of cornstarch mixed with one teaspoon of cold water, then simmer for another minute.
If the glaze becomes too thick, simply whisk in a teaspoon or two of hot water or orange juice until it reaches your desired pourable, yet clinging, consistency.
The salad became soggy quickly after assembly.
The primary culprit here is usually moisture from the greens. Always ensure your salad vegetables are thoroughly dry before adding them to the bowl. The second key factor is timing: this Crispy Glazed Chicken Salad is designed to be served immediately after the chicken is glazed and placed on the salad.
If you anticipate leftovers, always keep the glazed chicken and salad components separate, combining them just before eating.
Your Crispy Glazed Chicken Salad FAQs Answered
Can I bake or air fry the chicken instead of frying?
While you can bake or air fry the chicken for a lighter option, be aware that it will not achieve the same level of deep crispness as pan-frying. For the best baked results, spray the coated chicken lightly with oil and bake at 400°F (200°C) until golden and cooked through. For air frying, use a similar light oil spray and air fry at 375°F (190°C).
What if I don’t have rice vinegar?
Apple cider vinegar or white wine vinegar can be used as a substitute for rice vinegar. They have similar acidity profiles, though they might introduce a slightly different flavor note. Taste and adjust the honey or brown sugar in the glaze to ensure a balanced sweet and tangy profile.
Is this recipe gluten-free friendly?
Yes, it can be easily adapted! Substitute the all-purpose flour with a gluten-free all-purpose flour blend (or rice flour for an even crispier coating). Ensure you use tamari (a gluten-free soy sauce alternative) instead of regular soy sauce to make the entire recipe gluten-free.
Can I use different vegetables in the salad?
Absolutely! This recipe is incredibly versatile. Feel free to incorporate other crunchy vegetables like shredded carrots, snap peas, thinly sliced radishes, or even finely chopped bok choy. The key is to maintain a variety of textures and fresh flavors.
How spicy is the glaze with red pepper flakes?
With 1/4 teaspoon of red pepper flakes, the glaze has a very mild, background warmth that is more aromatic than overtly spicy. It adds a pleasant depth without overwhelming the palate. If you prefer more heat, you can increase it to 1/2 teaspoon or more, adjusting to your personal taste.
Ready to Create Your Crispy Glazed Chicken Salad Masterpiece?
You now possess all the knowledge and expert tips to create a truly unforgettable Crispy Glazed Chicken Salad. No more disappointing, soggy chicken; only perfectly juicy, gloriously crispy bites coated in a delectable sweet and tangy glaze, all atop a bed of fresh, vibrant greens.
Looking for More Chicken Ideas?
If you enjoyed this chicken salad, here are a couple more chicken recipes you might like.
- For a comforting meal with a flaky crust, try this Classic Chicken Pot Pie, featuring tender chicken and vegetables.
- If you prefer a creamy baked dish, explore the Cheesy Chicken & Rice Bake for a satisfying and flavorful experience.
Embrace the techniques outlined here, pay attention to the details, and prepare to impress yourself and anyone you share this dish with. Dive in, enjoy the process, and savor every magnificent crunch!
Crispy Glazed Chicken Salad
Course: SaladCuisine: Asian cuisineDifficulty: easy4
2-425
minutes20
minutes45
minutesAsian cuisine
Ingredients
For the Crispy Chicken:
2 boneless, skinless chicken breasts, cut into 1-inch pieces
1/2 cup all-purpose flour
1/4 cup cornstarch
1/2 teaspoon salt
1/4 teaspoon black pepper
1 large egg, whisked
Oil for frying (vegetable or canola)
For the Sweet & Tangy Glaze:
1/2 cup orange juice
1/4 cup rice vinegar
2 tablespoons soy sauce
2 tablespoons honey or brown sugar
1 tablespoon ketchup
1 clove garlic, minced
1/2 teaspoon grated fresh ginger
1/4 teaspoon red pepper flakes (optional)
1 tablespoon cornstarch mixed with 2 tablespoons cold water (slurry)
For the Salad:
6 cups chopped romaine or iceberg lettuce
1 large cucumber, halved lengthwise and sliced
1/2 red bell pepper, diced
1/2 yellow bell pepper, diced
1/4 red onion, thinly sliced
Directions
- Prep the Salad: In a large bowl, combine the chopped lettuce, cucumber, red and yellow bell peppers, and red onion. Make sure all vegetables are thoroughly dry. Set aside.
- Make the Glaze: In a small saucepan, whisk together the orange juice, rice vinegar, soy sauce, honey (or brown sugar), ketchup, minced garlic, grated ginger, and red pepper flakes (if using). Bring to a simmer over medium heat, stirring occasionally. Once simmering, slowly whisk in the cornstarch slurry. Continue to cook and stir for 1-2 minutes until the sauce thickens to a glossy glaze that coats the back of a spoon. Remove from heat and keep warm.
- Prepare the Chicken for Maximum Crispness: In a shallow dish, whisk together the flour, cornstarch, salt, and pepper. In another shallow dish, place the whisked egg. Pat the chicken pieces very dry with paper towels. This is crucial for a crisp coating! First, dredge each chicken piece in the flour mixture, shaking off excess. Then dip in the whisked egg, letting excess drip off. Finally, dredge again generously in the flour mixture, pressing to coat well. Set aside.
- The Crispy Chicken Secret: Heat about 2 inches of frying oil in a large heavy-bottomed skillet or Dutch oven over medium-high heat until it reaches 350-375°F (175-190°C). Don’t overcrowd the pan; work in batches to maintain oil temperature. Carefully add chicken pieces to the hot oil. Fry for 4-6 minutes, turning occasionally, until the chicken is cooked through and, most importantly, deep golden brown and extra crispy. The extra crispness here is what prevents sogginess when sauced. Remove cooked chicken with a slotted spoon and place on a wire rack set over paper towels to drain excess oil. Repeat with remaining chicken.
- Sauce and Assemble IMMEDIATELY: Once all chicken is fried, return the warm glaze to very low heat for 30 seconds to ensure it’s fluid. Add the hot, crispy fried chicken directly into the warm glaze in the saucepan. Toss quickly but thoroughly to coat all the chicken pieces. This quick toss allows the glaze to cling without soaking into the crisp exterior.
- Serve: Immediately spoon the glazed, crispy chicken over the prepared salad. Drizzle any remaining glaze over the top. Serve at once to enjoy the ultimate crispy chicken in every bite!
Notes
- Crucial for crispness: ensure chicken is very dry before dredging, fry in batches to maintain oil temp, and serve immediately after saucing.