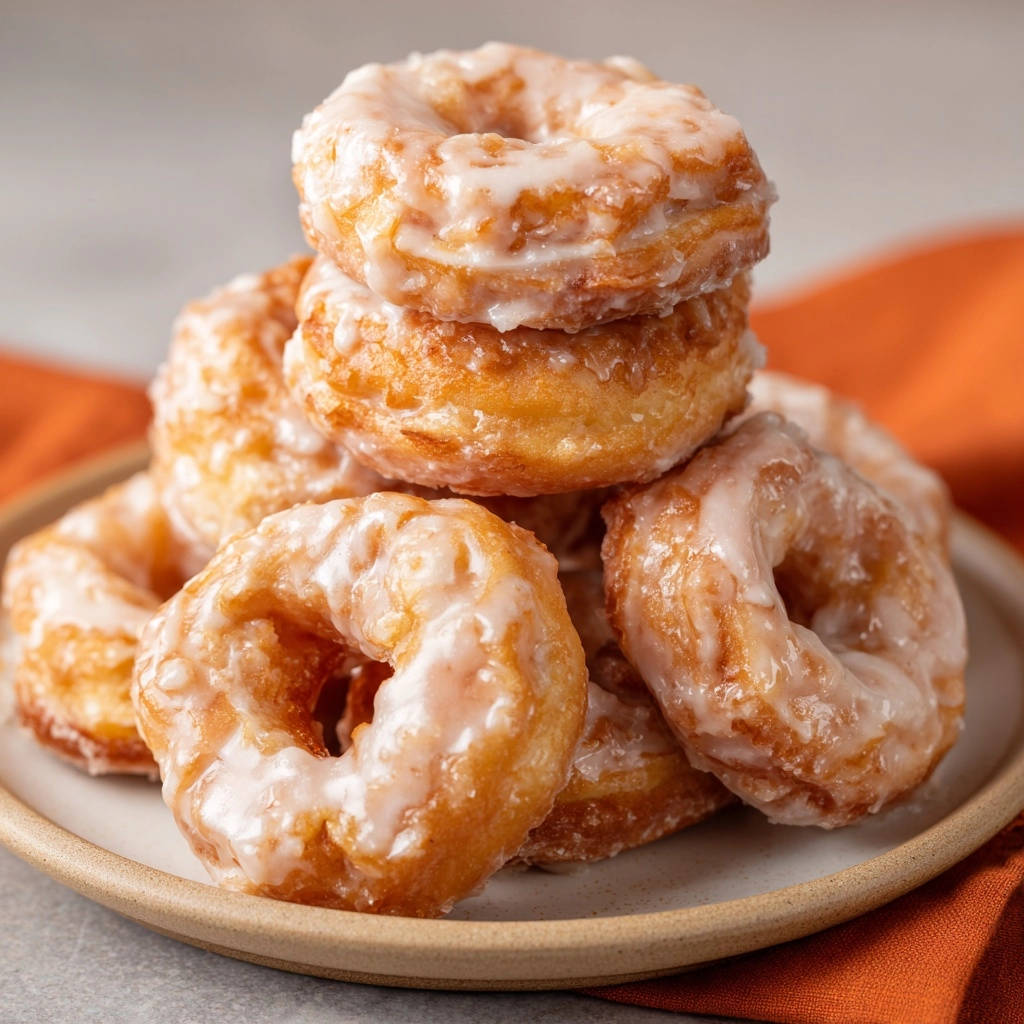
Glazed Donuts: Fluffy Perfection, Guaranteed!
There’s a magic to homemade glazed donuts that store-bought simply can’t capture. I know the frustration of aiming for that light, airy texture, only to end up with something dense and heavy. But what if I told you that consistently fluffy, melt-in-your-mouth glazed donuts are not just possible, but guaranteed with two simple, non-negotiable steps?
This recipe transforms a notoriously tricky treat into an accessible triumph, ensuring every bite of these sweet yeast donuts is a cloud-like dream. Get ready to bake up a batch of beauties that will vanish faster than you can say “more, please!”
Why This Glazed Donuts Recipe Shines Above the Rest
Many recipes promise deliciousness, but few deliver on the promise of truly light and airy results like this one. It tackles common donut pitfalls head-on, ensuring success even for novice bakers.
Get Our Best Recipes Weekly!
Join thousands of food lovers and get delicious recipes delivered to your inbox.
The “Secret Steps” for Unbeatable Fluffiness
The true magic of these fluffy glazed donuts lies in their meticulous proofing. From the initial yeast activation to the critical second rise, each step builds exceptional airiness.
This careful process develops the gluten structure while trapping air, creating those signature pockets that make the donuts so incredibly tender and light.
Say Goodbye to Dense, Heavy Donuts
If you’ve ever battled rubbery or cakey homemade donuts, this recipe is your solution. We specifically avoid common mistakes that lead to a dense crumb.
Focusing on precise temperatures and gentle handling ensures a dough that yields to the lightest touch, never heavy or tough.
Simple Ingredients, Extraordinary Results
You don’t need exotic items to create bakery-quality glazed donuts. This recipe relies on everyday pantry staples.
The secret is in understanding how these simple ingredients work together, transformed through precise technique into something truly special.
Essential Ingredients for Your Fluffy Glazed Donuts
Understanding each ingredient’s role is key to mastering these delectable treats. Quality and proper preparation make all the difference.
The Dough: Foundation of Flavor and Texture
-
Warm Milk: This isn’t just liquid; it’s the perfect temperature bath for activating your yeast. Aim for 105-115°F – too cold and yeast won’t activate, too hot and it will die.
-
Active Dry Yeast: The leavening powerhouse. Fresh, active yeast is paramount for a good rise, ensuring your homemade donuts are light and airy.
-
Granulated Sugar: It’s not just for sweetness; a small amount feeds the yeast, helping it activate properly. More is added for overall flavor.
-
Large Egg, room temperature: An egg adds richness, helps bind the dough, and contributes to a tender crumb. Room temperature eggs incorporate more smoothly.
-
Unsalted Butter, melted and cooled: Butter provides moisture, tenderness, and a delightful flavor. Cooling it prevents it from “scrambling” the egg or killing the yeast.
-
Vanilla Extract: A crucial flavor enhancer, adding warmth and depth to the dough that complements the sweet glaze.
-
Salt: Essential for balancing the sweetness and enhancing other flavors. It also plays a role in controlling yeast activity for optimal rising.
-
All-Purpose Flour: The structural backbone of your glazed donuts. Measuring it correctly (spoon and level, not scooping) prevents a dense final product.
The Irresistible Glaze: A Sweet Finish
-
Powdered Sugar: The base of our classic glaze, providing a fine, smooth texture and instant sweetness. It dissolves easily for a silky finish.
-
Milk (or water): This thins the glaze to the perfect consistency for dipping and coating. You’ll adjust it spoonful by spoonful.
-
Vanilla Extract: Enhances the glaze with a warm, aromatic flavor, completing the classic glazed donuts experience.
Your Path to Glazed Donuts Perfection: A Detailed Guide
Every step in this process is designed to build flavor and achieve that coveted light texture. Follow these instructions carefully for flawless results.
-
Preparing Your Yeast: The First Spark of Rise
In a large bowl, combine the specified warm milk and 1 teaspoon of granulated sugar. This creates a welcoming environment for your yeast.
Sprinkle the active dry yeast over the top and let it sit undisturbed for 5-10 minutes. Watch for a foamy layer to appear; this visual cue confirms your yeast is active and ready to make your homemade donuts rise beautifully.
-
Mixing the Dough: Building the Foundation
Once your yeast is foamy, add the remaining 1/4 cup granulated sugar, room temperature egg, melted and cooled butter, vanilla extract, and salt to the mixture. Whisk everything until it’s well combined and smooth.
Gradually incorporate the flour, adding one cup at a time and mixing until a shaggy, cohesive dough forms. Then, turn the dough out onto a lightly floured surface and knead it for about 5-7 minutes.
The goal is a smooth and elastic dough that is slightly tacky to the touch but no longer sticky. This kneading develops the gluten, which is crucial for the donuts’ structure and chew.
-
The All-Important First Rise: Developing Flavor
Lightly grease a clean bowl with a little vegetable oil. Place your kneaded dough into the bowl, turning it once to coat its surface with oil, which prevents it from drying out.
Cover the bowl snugly with plastic wrap or a clean kitchen towel. Allow it to rise in a warm, draft-free place for 1 to 1.5 hours, or until it has visibly doubled in size.
This first rise is essential for building deep flavor in your yeast donuts and establishing a strong, resilient dough structure.
-
Rolling and Cutting: Shaping Your Donuts
Once risen, gently punch down the dough to release the air and turn it out onto a lightly floured surface. Roll the dough evenly to a thickness of about 1/2 inch.
Use a 3-inch donut cutter or two round cutters (one larger, one smaller for the hole) to cut out your donuts. Gently gather any dough scraps and re-roll them once to cut additional donuts, ensuring you get the most out of your dough.
-
The Critical Second Proof: Unlocking Ultimate Fluffiness
This step is paramount for achieving truly airy and light glazed donuts. Carefully transfer your cut donut shapes to a parchment paper-lined baking sheet, leaving ample space between each one.
Loosely cover them with plastic wrap or a clean towel and let them rise again in a warm spot for another 30-45 minutes. This second, shorter rise is where those wonderful air pockets really develop.
You’ll know they are ready when they look noticeably puffed up and feel incredibly light when gently lifted. If they don’t look ready, give them more time; this proofing prevents dense, heavy donuts and guarantees a fluffy interior.
-
Whipping Up the Classic Glaze
While your donuts are completing their crucial second rise, prepare the simple, sweet glaze. In a medium bowl, whisk together the powdered sugar, milk (or water), and vanilla extract until the mixture is completely smooth.
Adjust the amount of milk as needed; the glaze should be thick enough to generously coat a spoon but still pourable. A perfect glaze consistency ensures a beautiful, even coating on your finished glazed donuts.
-
Setting Up for Frying Success: Temperature is Key
Also during the second proof, prepare your frying station. Pour about 2-3 inches of vegetable oil into a large, heavy-bottomed pot or Dutch oven. A heavy pot helps maintain a stable temperature.
Heat the oil over medium heat to a precise temperature of 350-375°F. Using a deep-fry thermometer here is highly recommended; maintaining the correct oil temperature is absolutely critical.
Too low, and the donuts will absorb excessive oil and become greasy and dense. Too high, and they’ll burn on the outside before cooking through inside, resulting in a raw center and dark crust. Correct temperature guarantees an even, fluffy cook.
-
Frying to Golden Perfection
Once the oil is at the correct temperature, carefully place 2-3 donuts into the hot oil. Avoid overcrowding the pot, as this will drop the oil temperature too quickly and lead to uneven cooking.
Fry for about 1-2 minutes per side, or until they achieve a beautiful golden brown color and are cooked through. Use a slotted spoon or spider to gently flip the donuts and remove them from the oil.
-
Glazing While Warm: The Final Touch
Transfer the fried donuts directly to a wire rack that’s set over a baking sheet. This setup allows any excess oil to drain off effectively and permits the donuts to cool slightly.
While the donuts are still warm to the touch (but not piping hot), dip each one into the prepared glaze, turning to coat evenly. Place them back on the wire rack to allow any excess glaze to drip off and set.
Glazing them while they are still warm ensures the glaze adheres perfectly and melts slightly for that iconic, irresistible finish. Serve these perfect glazed donuts immediately and savor that perfect fluffy bite!
Chef’s Secrets: Mastering Homemade Glazed Donuts
Elevate your homemade donuts from good to truly exceptional with these insider tips and tricks. These details make all the difference.
More Sweet and Savory Ideas
If you’ve enjoyed these fluffy donuts, you might like these other satisfying recipes.
- For a different kind of comforting bake, consider making a classic chicken pot pie, featuring a rich filling wrapped in flaky pastry.
- To start your day with something hearty, try a hearty sausage and cheese breakfast bake, perfect for a filling meal.
Yeast: Freshness & Activation Checks
Always ensure your active dry yeast is fresh and not expired. The “foaming” step is non-negotiable; if your yeast doesn’t foam, it’s inactive, and your dough won’t rise.
Discard inactive yeast and start with a fresh packet to avoid disappointment and guarantee fluffy donuts.
Dough Consistency: Not Too Sticky, Not Too Dry
The ideal donut dough should feel slightly tacky to the touch but not stick aggressively to your hands or the work surface. If it’s too sticky, add flour a tablespoon at a time.
Conversely, if it feels too dry or stiff during kneading, add a tiny bit of milk (half a teaspoon) to achieve that perfect pliable texture. This balance is key for a tender crumb.
The Power of Proofing: Patience is a Virtue
Do not rush the rising times. Both the first and especially the second proof are critical for texture and flavor development.
Find a consistently warm, draft-free spot in your kitchen; some excellent places include a slightly warmed oven (turned off!), near a sunny window, or on top of a warm appliance.
Oil Temperature: Your Fryer’s Best Friend
Investing in a good deep-fry thermometer is paramount for success with homemade donuts. Maintaining the precise oil temperature of 350-375°F cannot be overstated.
Incorrect temperatures lead to common pitfalls: oil that is too cool results in greasy, dense donuts, while oil that is too hot burns the exterior before the inside cooks through. Consistency is key for perfect frying.
Don’t Overcrowd the Pot
Frying in small batches, typically 2-3 donuts at a time, is essential. Overcrowding the pot significantly drops the oil temperature.
This drop causes the donuts to cook unevenly and absorb too much oil, ruining their light texture. Patience with batch frying will yield superior results.
Glazing Timing: Warm for Best Adhesion
Glaze your homemade donuts while they are still warm but not hot. If they are too hot, the glaze will melt and disappear.
If they are too cold, the glaze won’t adhere properly. That warm sweet spot ensures a perfectly coated, shiny, and delicious finish.
Troubleshooting Common Glazed Donuts Hurdles
Even expert bakers encounter issues occasionally. Here’s how to tackle common problems when making glazed donuts.
My Donuts Are Dense and Heavy
This often stems from an insufficient second rise; ensure the cut donuts are noticeably puffed before frying. It can also be a result of oil that’s too cool, causing them to absorb too much grease.
Over-kneading the dough can also develop too much gluten, making the donuts tough. Follow kneading times closely for a tender crumb.
My Donuts Are Greasy
Greasy donuts are almost always a sign that your frying oil temperature was too low. The dough slowly cooks and absorbs oil rather than frying quickly to a crisp exterior.
Always use a thermometer to maintain the correct 350-375°F range, and avoid overcrowding the pot, which lowers the oil temperature.
My Dough Isn’t Rising
The most common culprit is inactive or expired yeast. Always perform the initial yeast activation step to confirm freshness.
A cold environment can also hinder rising; ensure your proofing spot is warm and draft-free. Additionally, old or poorly stored flour can sometimes affect dough development.
My Glaze is Too Thin/Thick
Adjusting glaze consistency is simple. If your glaze is too thin, gradually whisk in more powdered sugar, a tablespoon at a time, until it thickens.
If it’s too thick, add milk (or water) half a teaspoon at a time until it reaches the desired pourable, yet coatable, consistency for your glazed donuts.
Frequently Asked Questions About Homemade Glazed Donuts
Got more questions? Here are answers to some common inquiries about making these delicious glazed treats.
Can I make Glazed Donuts ahead of time?
You can prepare the dough for your homemade donuts the night before. After the first rise, punch down the dough, cover the bowl tightly with plastic wrap, and refrigerate it overnight.
The next morning, let the dough come to room temperature for about 30-60 minutes before rolling and cutting, then proceed with the second rise and frying. It’s best to glaze and serve them fresh.
How long do homemade Glazed Donuts last?
Homemade glazed donuts are best enjoyed the same day they are made for optimal freshness and texture. They tend to lose their signature softness quickly.
Store them in an airtight container at room temperature for up to 1-2 days. Reheating them briefly in the microwave for 10-15 seconds can help revive their tenderness.
Can I bake these donuts instead of frying?
While some donut recipes are formulated for baking, this particular recipe is specifically designed for frying. The high moisture content and yeast structure are optimized for deep-frying.
Baking these glazed donuts would likely result in a different texture, often drier and less airy than the fried version, and they wouldn’t achieve that characteristic tender crumb. For a true yeast donut experience, frying is recommended.
What’s the best oil for frying donuts?
For frying yeast donuts, choose a neutral-flavored oil with a high smoke point. Excellent choices include vegetable oil, canola oil, sunflower oil, or peanut oil.
These oils won’t impart unwanted flavors to your glazed donuts and can withstand the necessary high temperatures for proper frying without breaking down quickly.
Serving Suggestions and Creative Twists
While perfectly delicious on their own, these glazed donuts also lend themselves to delightful pairings and creative variations.
Classic Enjoyment
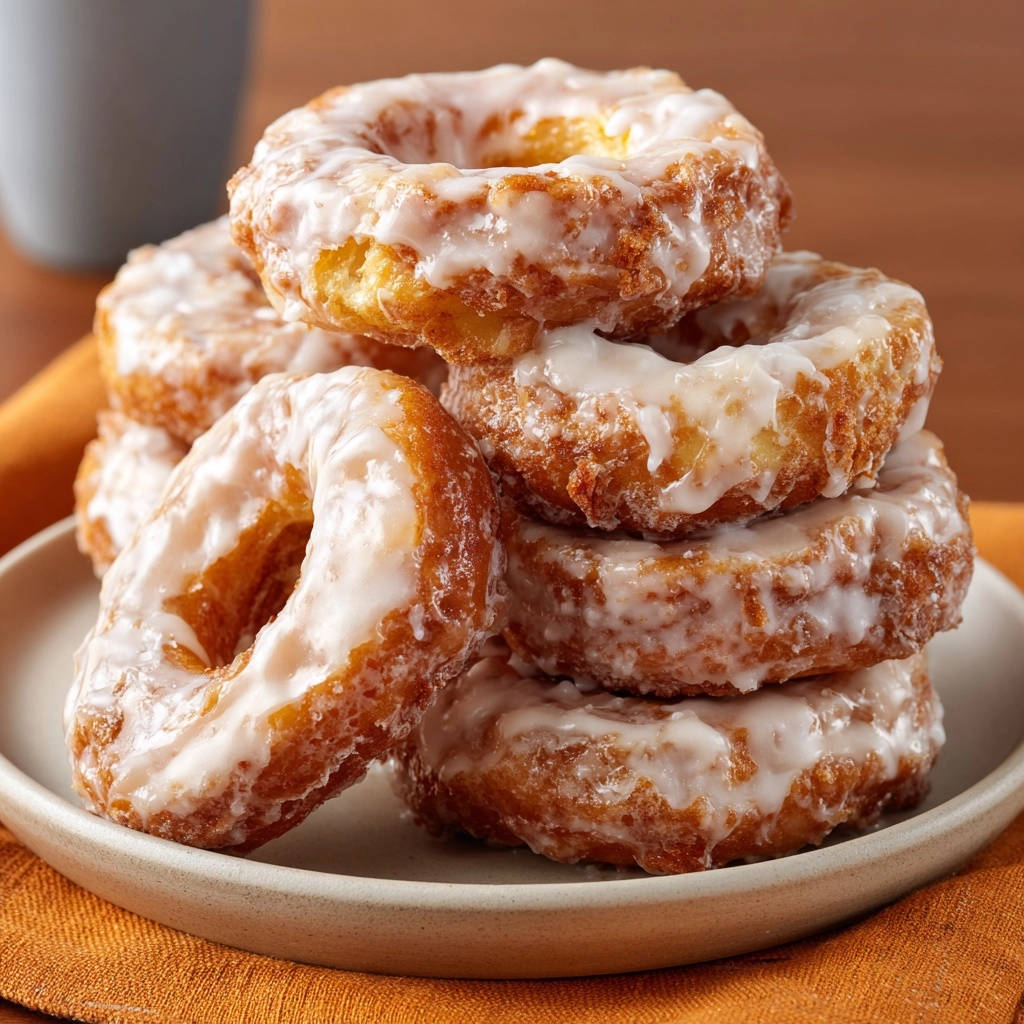
Serve your warm, freshly glazed donuts with a hot cup of coffee, a robust espresso, or a cold glass of milk for the ultimate classic experience. They are perfect for a special breakfast, brunch, or an indulgent afternoon treat.
These fluffy delights are ideal for sharing with friends and family, creating moments of pure comfort and joy.
Beyond the Basic Glaze
While the classic vanilla glaze is irresistible, feel free to experiment! You could whisk cocoa powder into the glaze for a rich chocolate version, or add a pinch of cinnamon for a spiced twist.
Top with colorful sprinkles while the glaze is still wet, or even a sprinkle of toasted coconut for added texture and flavor. The possibilities for personalizing your homemade donuts are endless.
Ready to Indulge? Your Glazed Donuts Await!
There’s nothing quite like the pride and pure delight of biting into a perfectly fluffy, warm, homemade glazed donut. This recipe guarantees that satisfaction, transforming simple ingredients into an unforgettable treat.
Don’t let the idea of frying intimidate you; with these detailed steps and expert tips, you’re set for success. Go ahead, gather your ingredients, and prepare to create the most incredible glazed donuts your kitchen has ever seen. Share your creations and savor every moment!

Glazed Donuts
Course: DessertCuisine: American CuisineDifficulty: easy4
12-16 donuts30
minutes20
minutes180
minutesAmerican Cuisine
Ingredients
1 cup warm milk (about 105-115 degrees F)
2 1/4 teaspoons active dry yeast (one standard packet)
1/4 cup granulated sugar, plus 1 teaspoon
1 large egg, room temperature
1/4 cup unsalted butter, melted and cooled
1 teaspoon vanilla extract
1/2 teaspoon salt
3 cups all purpose flour, plus more for dusting
Vegetable oil, for frying
For the Glaze:
2 cups powdered sugar
3-4 tablespoons milk (or water)
1/2 teaspoon vanilla extract
Directions
- In a large bowl, combine the warm milk and 1 teaspoon of granulated sugar. Sprinkle the active dry yeast over the top and let it sit for 5-10 minutes until foamy. This shows your yeast is active and ready to make your donuts rise beautifully.
- Add the remaining 1/4 cup granulated sugar, egg, melted butter, vanilla extract, and salt to the yeast mixture. Whisk until well combined. Gradually add the flour, one cup at a time, mixing until a shaggy dough forms.
- Turn the dough out onto a lightly floured surface and knead for about 5-7 minutes, until the dough is smooth and elastic. It should be slightly tacky but not sticky.
- Lightly grease a clean bowl with a little vegetable oil. Place the dough in the bowl, turning it once to coat. Cover the bowl with plastic wrap or a clean kitchen towel and let it rise in a warm place for 1 to 1.5 hours, or until doubled in size. This first rise builds flavor and structure.
- Gently punch down the risen dough and turn it out onto a lightly floured surface. Roll the dough to about 1/2 inch thick. Using a 3-inch donut cutter or two round cutters (one larger, one smaller for the hole), cut out your donuts. Gather and re-roll scraps once to cut more donuts.
- This next step is CRITICAL for fluffiness: Carefully transfer the cut donuts to a parchment paper lined baking sheet, leaving some space between them. Cover loosely with plastic wrap or a clean towel and let them rise again in a warm spot for another 30-45 minutes. You’ll know they’re ready when they look noticeably puffed up and feel incredibly light when gently lifted. If they don’t look ready, give them more time. This second, shorter rise is what creates those wonderful air pockets, ensuring a light and fluffy interior rather than a dense, heavy donut.
- While the donuts are completing their second rise, prepare the glaze. In a medium bowl, whisk together the powdered sugar, milk (or water), and vanilla extract until smooth. Adjust milk as needed for desired consistency; it should be thick enough to coat but still pourable.
- Also while the donuts are proofing, prepare your frying station. Pour about 2-3 inches of vegetable oil into a large, heavy bottomed pot or Dutch oven. Heat the oil over medium heat to 350-375 degrees F. A thermometer is highly recommended here; maintaining the correct oil temperature is the key to preventing greasy, dense donuts and guaranteeing an even, fluffy cook. Too low, and they soak up oil; too high, and they burn outside before cooking inside.
- Carefully place 2-3 donuts (do not overcrowd the pot) into the hot oil. Fry for about 1-2 minutes per side, until golden brown and cooked through. Use a slotted spoon or spider to carefully flip the donuts and remove them.
- Transfer the fried donuts to a wire rack set over a baking sheet to drain any excess oil and cool slightly.
- While the donuts are still warm, dip each into the prepared glaze, turning to coat evenly. Place them back on the wire rack to allow the excess glaze to drip off and set. Serve immediately and enjoy that perfect fluffy bite!
Notes
- The second rise is critical for achieving light and fluffy donuts. Maintaining oil temperature is key for perfect frying.